


An energy meter for Node-RED should do more than display electricity data in a vendor app. It should provide an open interface that Node-RED can read locally, transform and use in dashboards, databases, alerts and automation flows.
IAMMETER Wi-Fi energy meters support several Node-RED integration paths:
These options cover single-phase home energy monitoring, home solar monitoring and three-phase commercial or industrial projects.
Single-phase or three-phase energy meter
                    │
       ┌────────────┼────────────┐
       │            │            │
     MQTT       Modbus TCP    Local API
       │            │            │
       └────────────┼────────────┘
                    ▼
                 Node-RED
                    │
       ┌────────────┼────────────┐
       ▼            ▼            ▼
   Dashboard     Database    Automation
When selecting an energy meter for Node-RED, check whether it provides:
All current IAMMETER energy meters can be integrated with Node-RED. The main product choice depends on whether the project is residential or commercial/industrial, and how many phases or measurement channels are required.
| Model | Best fit | Measurement structure | Typical Node-RED use |
|---|---|---|---|
| WEM3080 | Single-phase household electricity | One channel | Whole-home consumption, power alerts and appliance schedules |
| WEM2067 | Single-phase home solar or split-phase residential monitoring | Two channels | Measure grid exchange and solar inverter output with one meter |
| WEM3050T | Three-phase homes or projects requiring three measurement channels | Three channels | Per-phase monitoring, home solar and flexible multi-channel flows |
For a single-phase home solar system, WEM2067 can measure both the solar inverter output and grid import/export. Node-RED can then use those values for dashboards, surplus-solar automation and load control.
| Model | Best fit | Measurement structure | Typical Node-RED use |
|---|---|---|---|
| WEM3080T | Standard three-phase power monitoring | Three phases | Per-phase monitoring, demand alerts, logging and control logic |
| WEM3046T / WEM3046TE | Higher-current systems using external current transformers | Three 5 A CT inputs | Distribution panels, commercial buildings and industrial monitoring |
WEM3046T and WEM3046TE measure the 5 A secondary output of external CTs. Apply the configured CT ratio when interpreting the primary-system values. This is a characteristic of the meter and CT installation, not a Node-RED limitation.
| Method | Data direction | Internet required | Best for | Main consideration |
|---|---|---|---|---|
| IAMMETER node / local API | Node-RED requests the meter | No, for local access | Fast setup and custom HTTP flows | Node-RED must reach the meter on the LAN |
| MQTT | Meter publishes to a broker | No, when using a local broker | Decoupled flows and multiple subscribers | Configure the broker in the meter WebUI |
| Modbus TCP | Node-RED polls meter registers | No | Standard local and industrial integration | Decode registers and scaling correctly |
Choose MQTT when the broker should distribute measurements to Node-RED and other applications. Choose Modbus TCP when the project already uses industrial register polling. Choose the local API or IAMMETER node for the shortest route from the meter to a Node-RED flow.
For a wider comparison of local integration options, see Local API, Modbus TCP, MQTT and HTTPS.
IAMMETER provides the open-source node-red-contrib-iammeter package. It supports local real-time access to an IAMMETER energy meter and cloud real-time access through an IAMMETER-Cloud account.
In Node-RED:
node-red-contrib-iammeter.The source code is available in the IAMMETER Node-RED GitHub repository.
Use the local real-time node and enter the meter's LAN IP address. Connect its output to a Debug node first so that you can inspect the returned data structure before building calculations or dashboards.
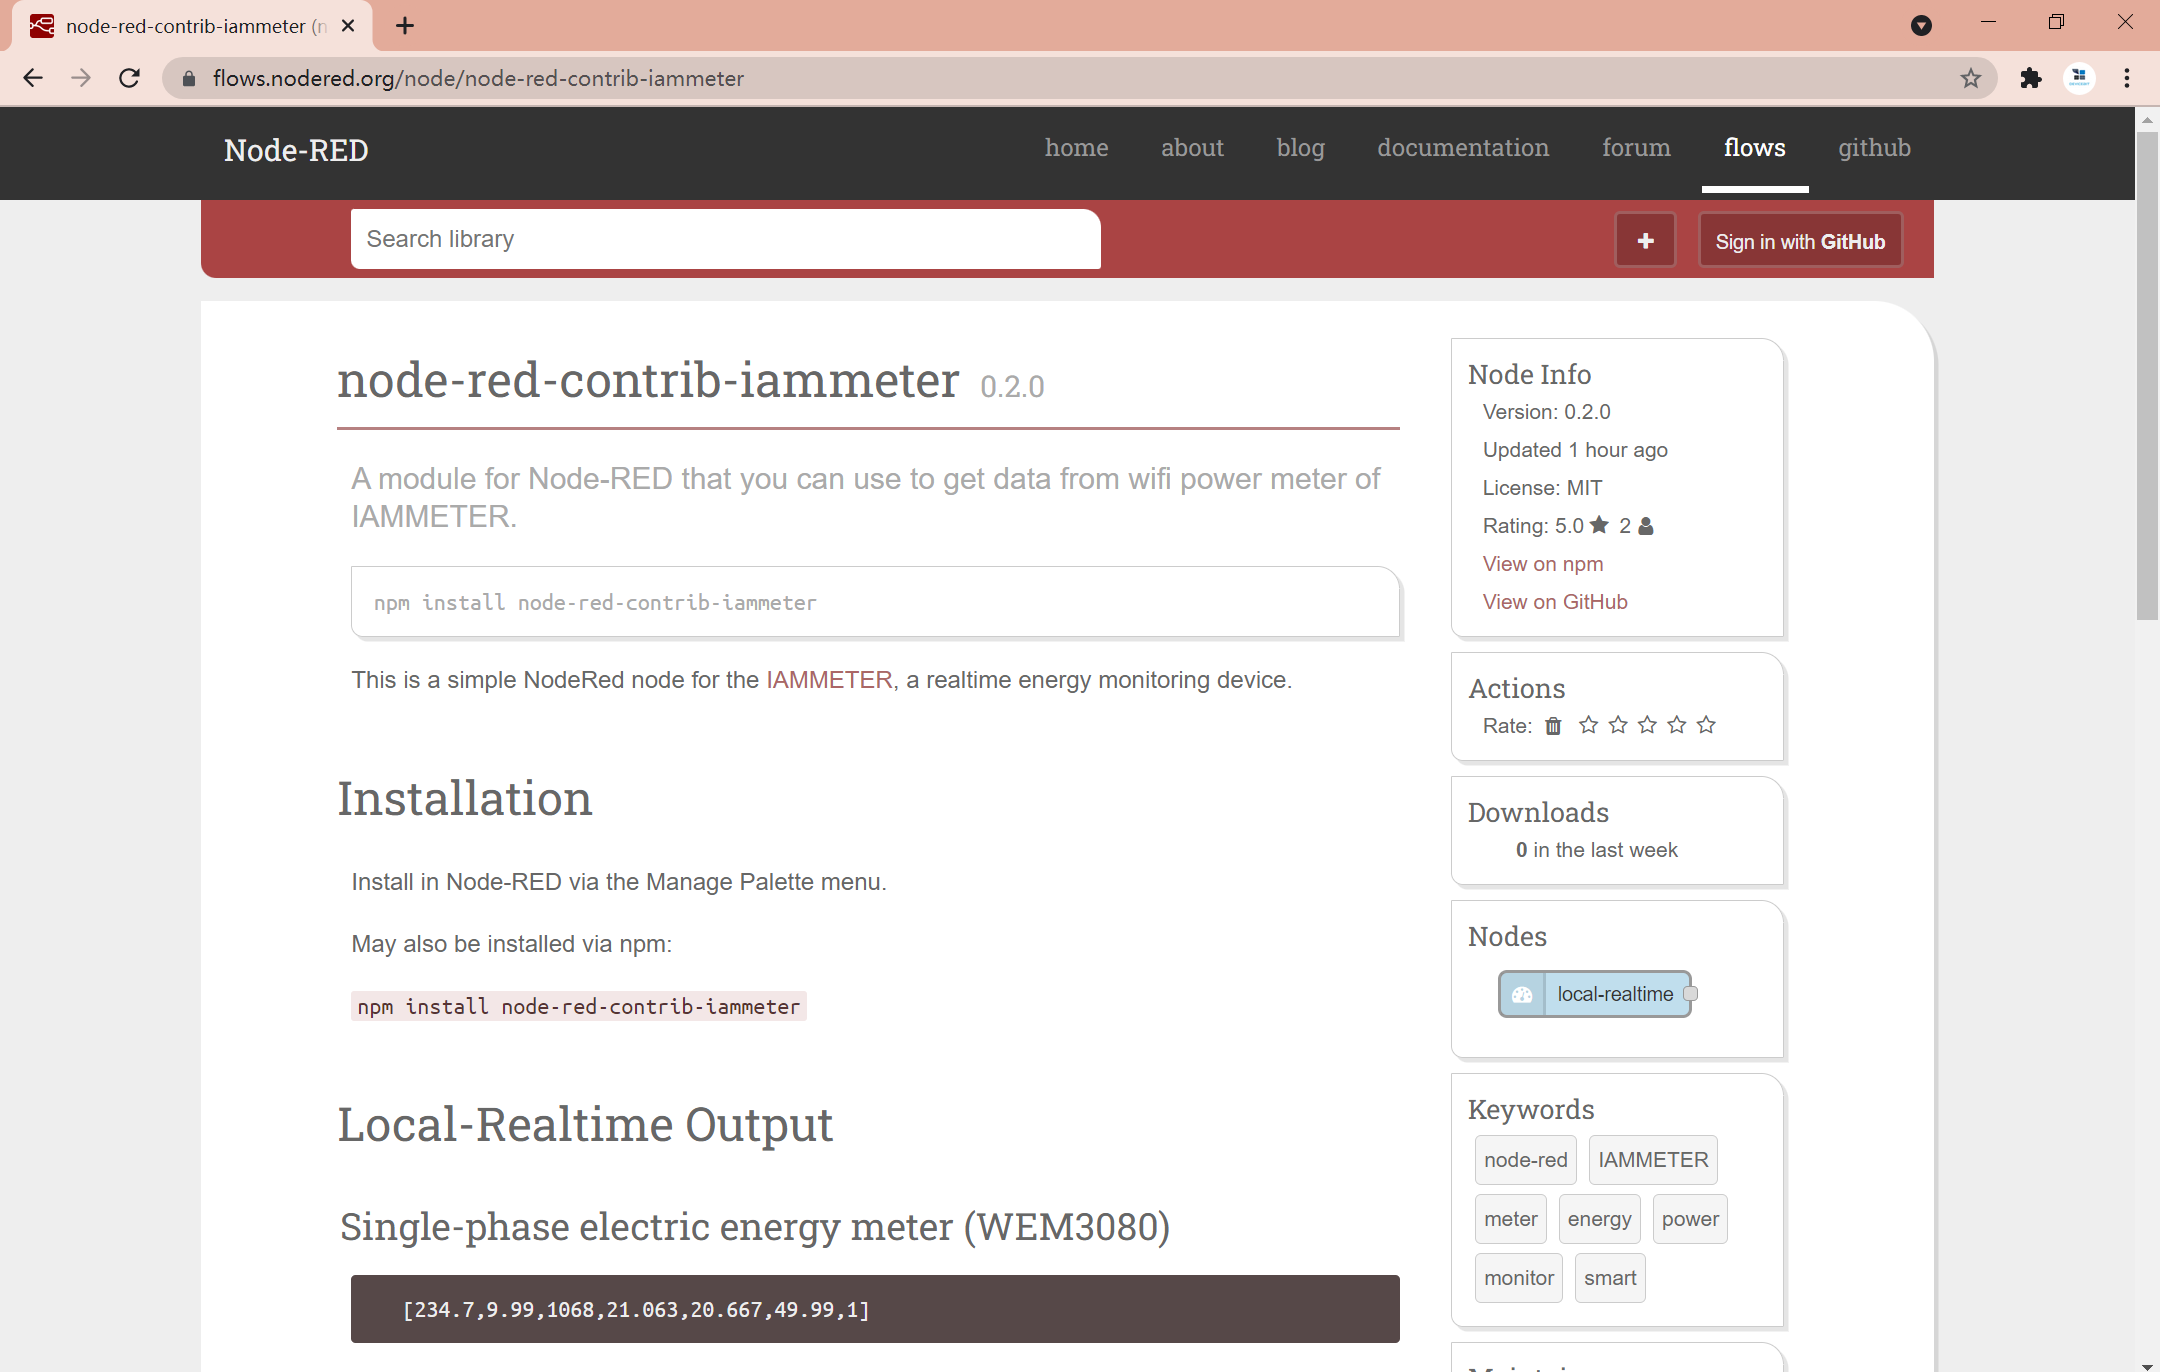
A single-phase meter returns one set of measurements. A dual-channel or three-phase meter returns data for each channel or phase. Build the flow around the actual array length instead of assuming that every meter has the same number of sensors.
MQTT is useful when the energy meter should publish data to a broker and one or more applications need to subscribe.
Use the meter's current WebUI to configure:
Home Assistant MQTT Discovery is only needed when Home Assistant should automatically discover the meter. It is not required for an ordinary Node-RED MQTT flow.
See Configure IAMMETER for an MQTT broker for the current meter-side setup.
Modbus TCP is a good fit for three-phase energy monitoring, commercial projects and systems that already use Modbus devices.
A typical Node-RED flow uses a Modbus client node to poll the meter over the local network. For IAMMETER meters, start with:
502;1;03).Use the official Modbus TCP register and testing guide for register addresses, data types and scaling. Test one small register range first, verify the decoded result against the meter, and only then expand the flow.
Practical examples:
For a simple LAN integration, an HTTP Request node can request the meter's local API directly. This is useful when you want full control over polling and parsing without installing a device-specific Node-RED package.
Before creating the complete flow:
The API Explorer must be opened from a device that can access the meter on the same LAN.
Depending on the meter model and interface, a Node-RED flow can work with values such as:
Keep raw meter data separate from calculated fields. For example, a home solar flow may calculate household load from grid exchange and inverter output, while the original measurements remain available for troubleshooting.
See the home solar wiring diagrams before deciding where each CT or meter channel should be installed.
Examples:
Node-RED is primarily a flow and automation tool. For longer-term analysis, send normalized measurements to a database or dashboard system.
A common architecture is:
Energy meter → Node-RED → InfluxDB / SQL → Grafana
                         └→ alerts and control
Use consistent field names, units and timestamps. For a three-phase meter, retain both per-phase values and any totals calculated by the flow.
Choose Node-RED when the project needs flexible data transformation, routing, custom control logic or integration with databases and industrial protocols.
Choose Home Assistant when the priority is ready-made entities, household dashboards and smart-home device management. The two platforms can also be used together: Home Assistant can provide the user interface while Node-RED handles more complex automation.
Last updated: July 17, 2026.
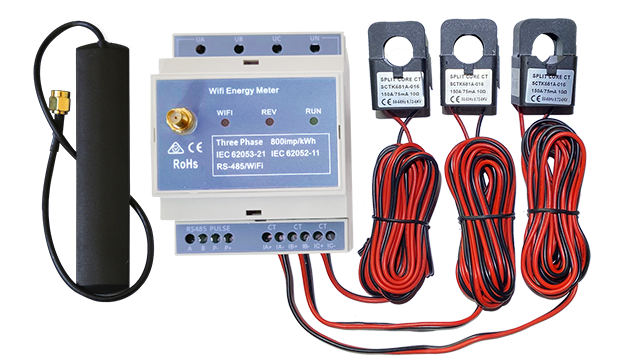
Three Phase Wi-Fi Energy Meter (WEM3080T)
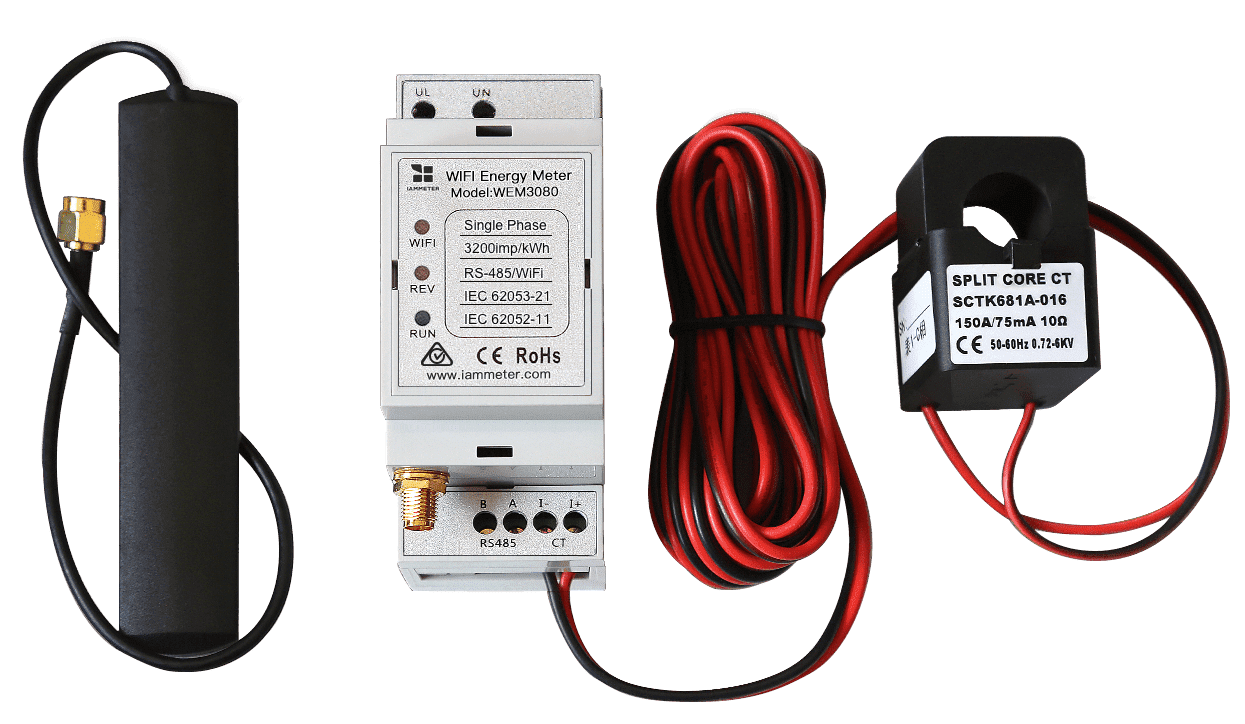
Single Phase Wi-Fi Energy Meter (WEM3080)
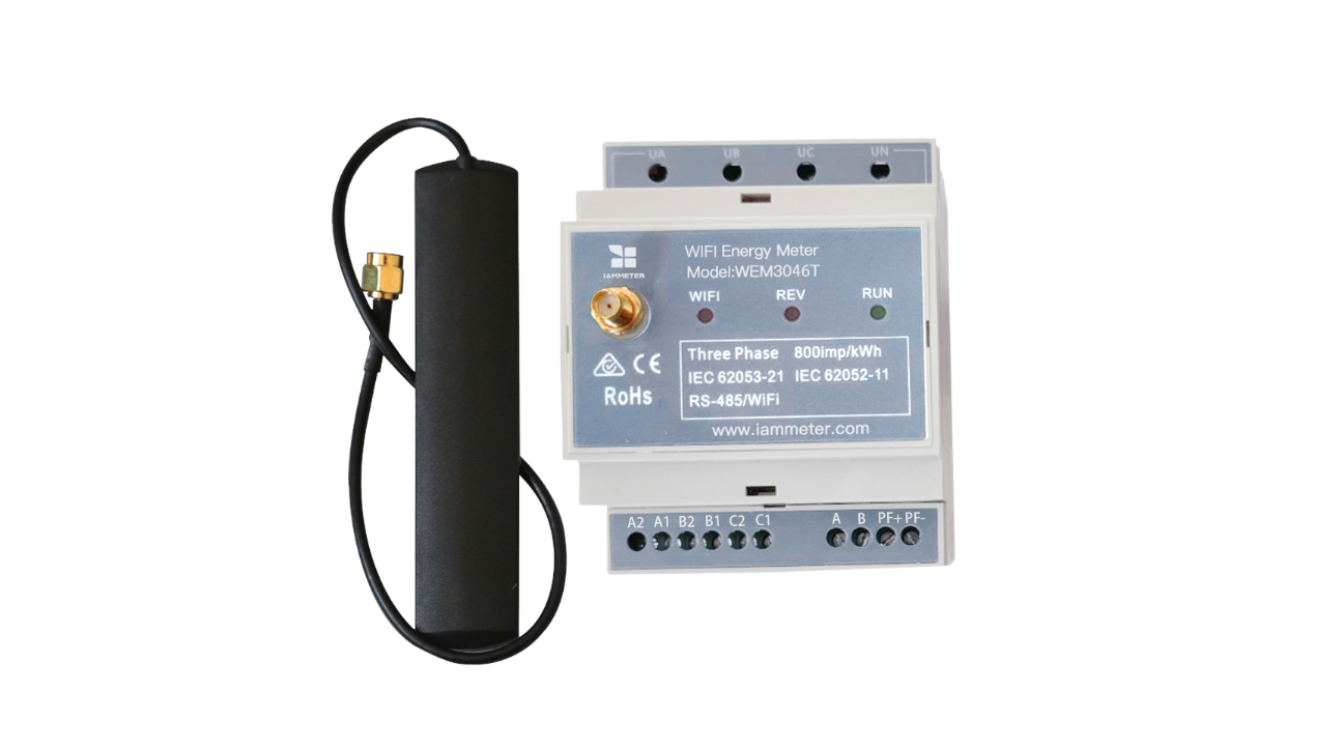
Three Phase Wi-Fi Energy Meter (WEM3046T)
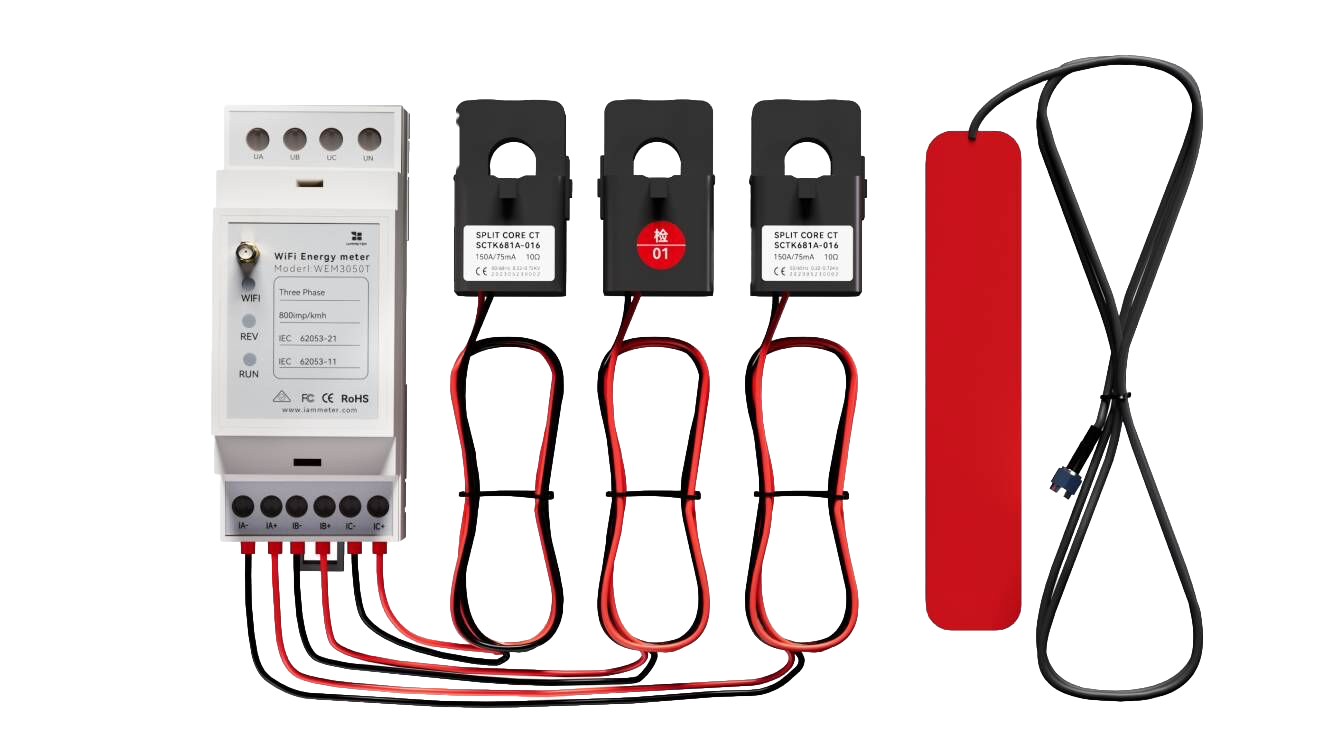
Three Phase Wi-Fi Energy Meter (WEM3050T)