


After the basic IAMMETER-Docker server is running, it can be extended into a local MQTT energy monitoring server, use MySQL for a larger dataset, forward solar data to PVOutput and accept compatible third-party measurements.
This guide covers advanced data paths and storage options. For installation, persistent volumes, first login, meter setup, backup and container upgrades, start with Self-Hosted Energy Monitoring with Docker.
IAMMETER meter / compatible device / custom application
                         │
             ┌───────────┼───────────┐
             │           │           │
            HTTP        MQTT       REST API
             │           │           │
             └───────────┼───────────┘
                         ▼
                  IAMMETER-Docker
                         │
       ┌─────────────────┼─────────────────┐
       ▼                 ▼                 ▼
 SQLite / MySQL     MQTT subscribers     PVOutput
Use only the interfaces required by the project. A simple local monitoring installation does not need MySQL, external MQTT clients or data forwarding.
Confirm that the basic installation is stable:
/app/data is mapped to persistent storage;The default deployment exposes:
5050 for the web application and API;1883 for MQTT.Do not publish either port directly to the Internet. Use a firewall, VPN or another controlled access layer when remote access is necessary.
IAMMETER-Docker uses SQLite for a simple default deployment and supports MySQL for installations with a larger dataset.
| Database | Best for | Advantages | Considerations |
|---|---|---|---|
| SQLite | Home, test and smaller local deployments | No separate database service; easy initial setup | Database remains tied to the application volume |
| MySQL | Larger or longer-running installations | Separate database service and better suitability for growing datasets | Requires database deployment, credentials, backup and maintenance |
Do not move to MySQL only because it is available. Use it when the expected data volume, retention period or database-management requirements justify an additional service.
Before selecting MySQL in IAMMETER-Docker:
Then enter the MySQL connection settings in IAMMETER-Docker and confirm that new measurements are being stored.
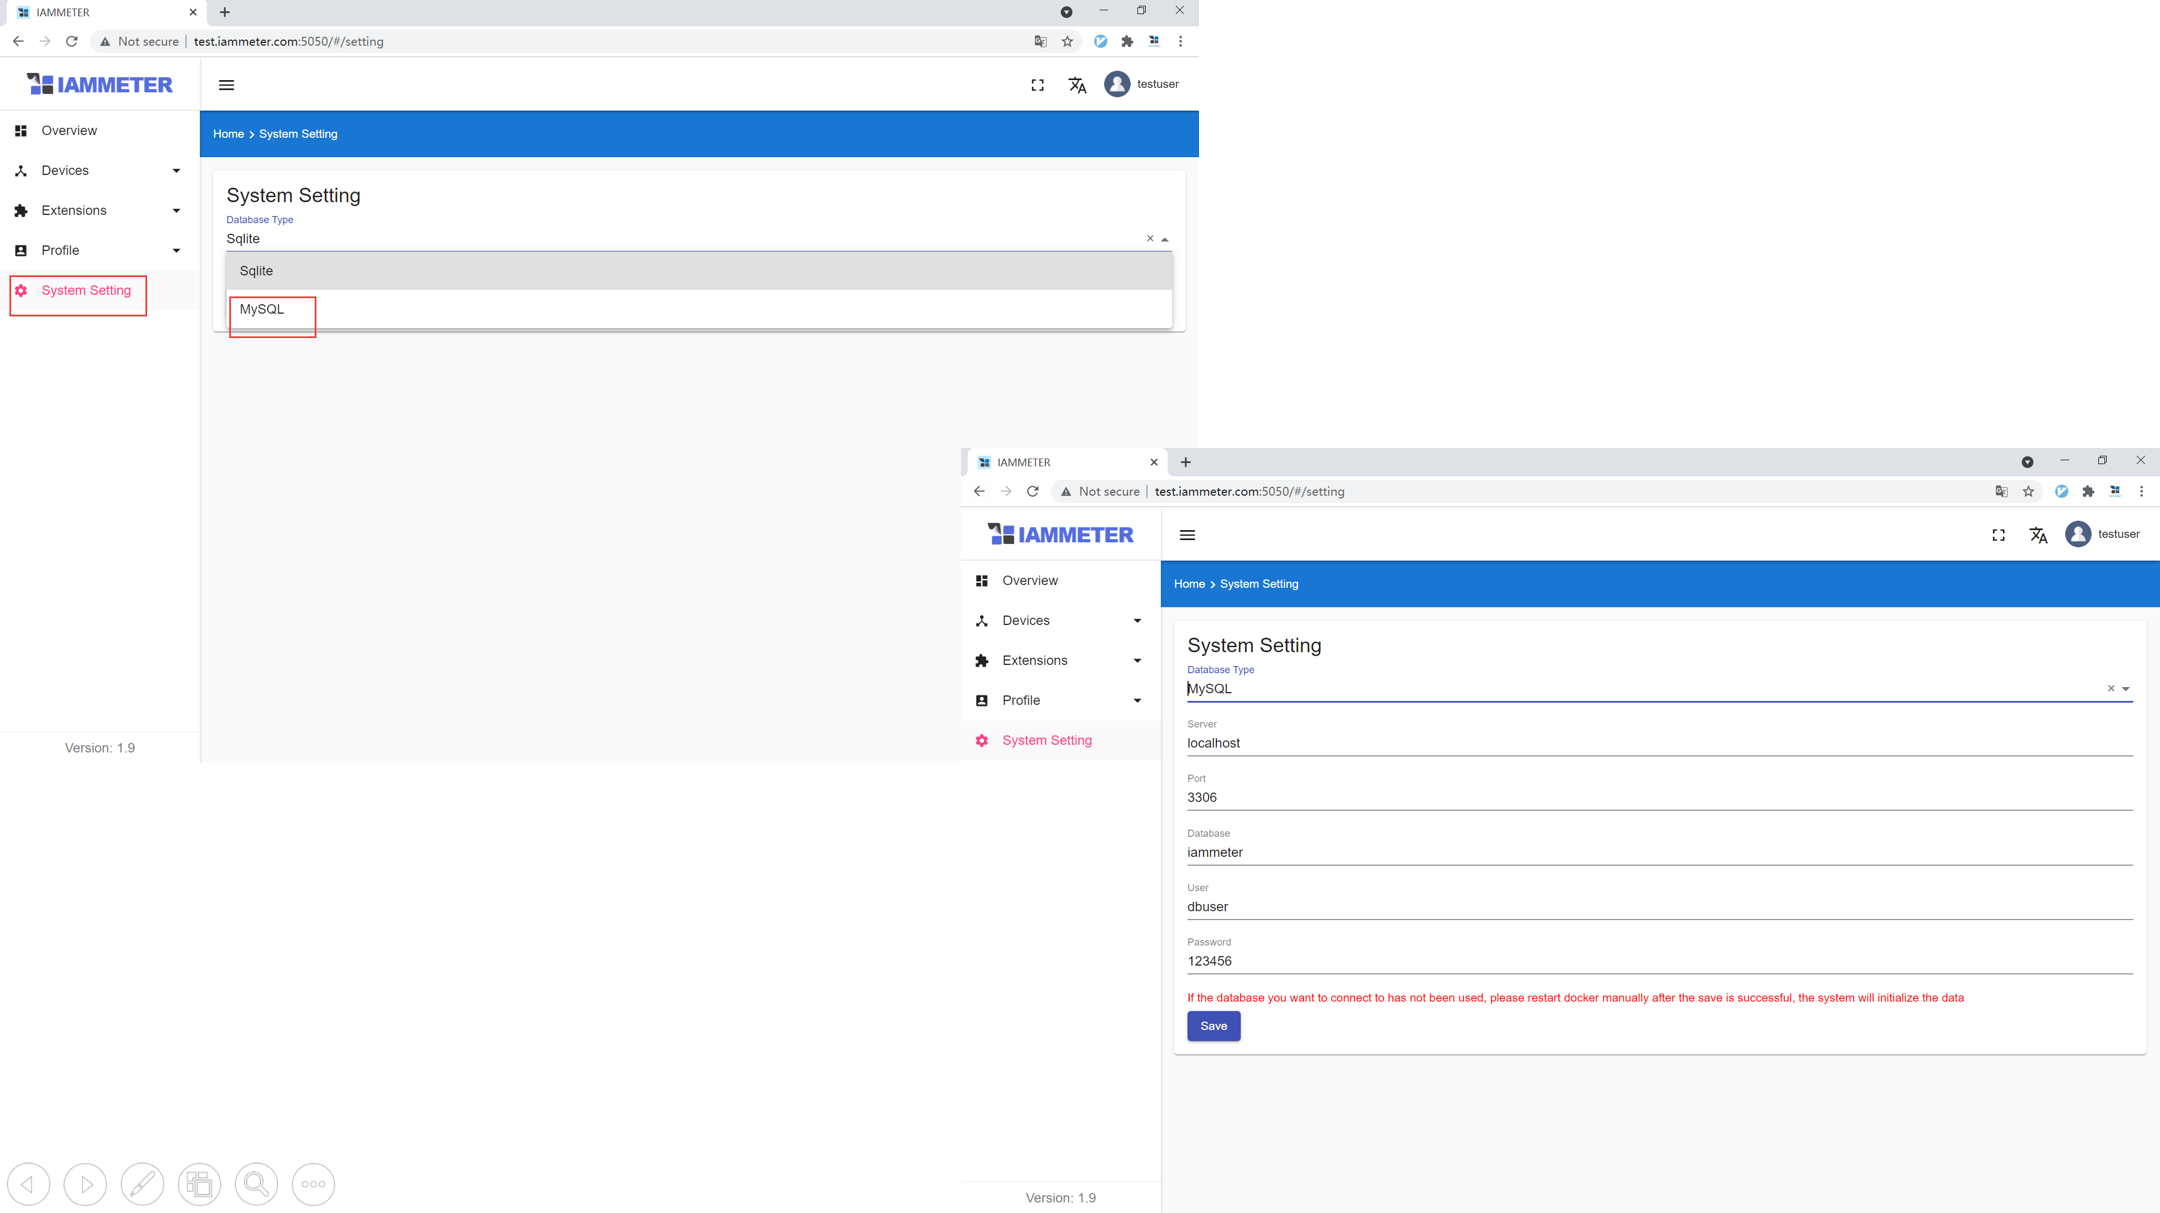
Back up the existing IAMMETER-Docker data before changing database mode. Verify historical data and new uploads after the change.
IAMMETER-Docker includes MQTT support for two different directions:
These paths use the same topic pattern but different authentication modes.
The documented real-time topic is:
device/<SN>/realtime
Replace <SN> with the serial number registered in IAMMETER-Docker. The SN in the MQTT topic and client configuration must match the meter created in the local platform.
For a publishing device or application:
| Setting | Value |
|---|---|
| Broker | IP address or hostname of the IAMMETER-Docker server |
| Port | 1883 by default |
| Authentication | Client ID |
| Client ID | Meter SN registered in IAMMETER-Docker |
| Topic | device/<SN>/realtime |
| Payload | IAMMETER-supported uploading-data format |
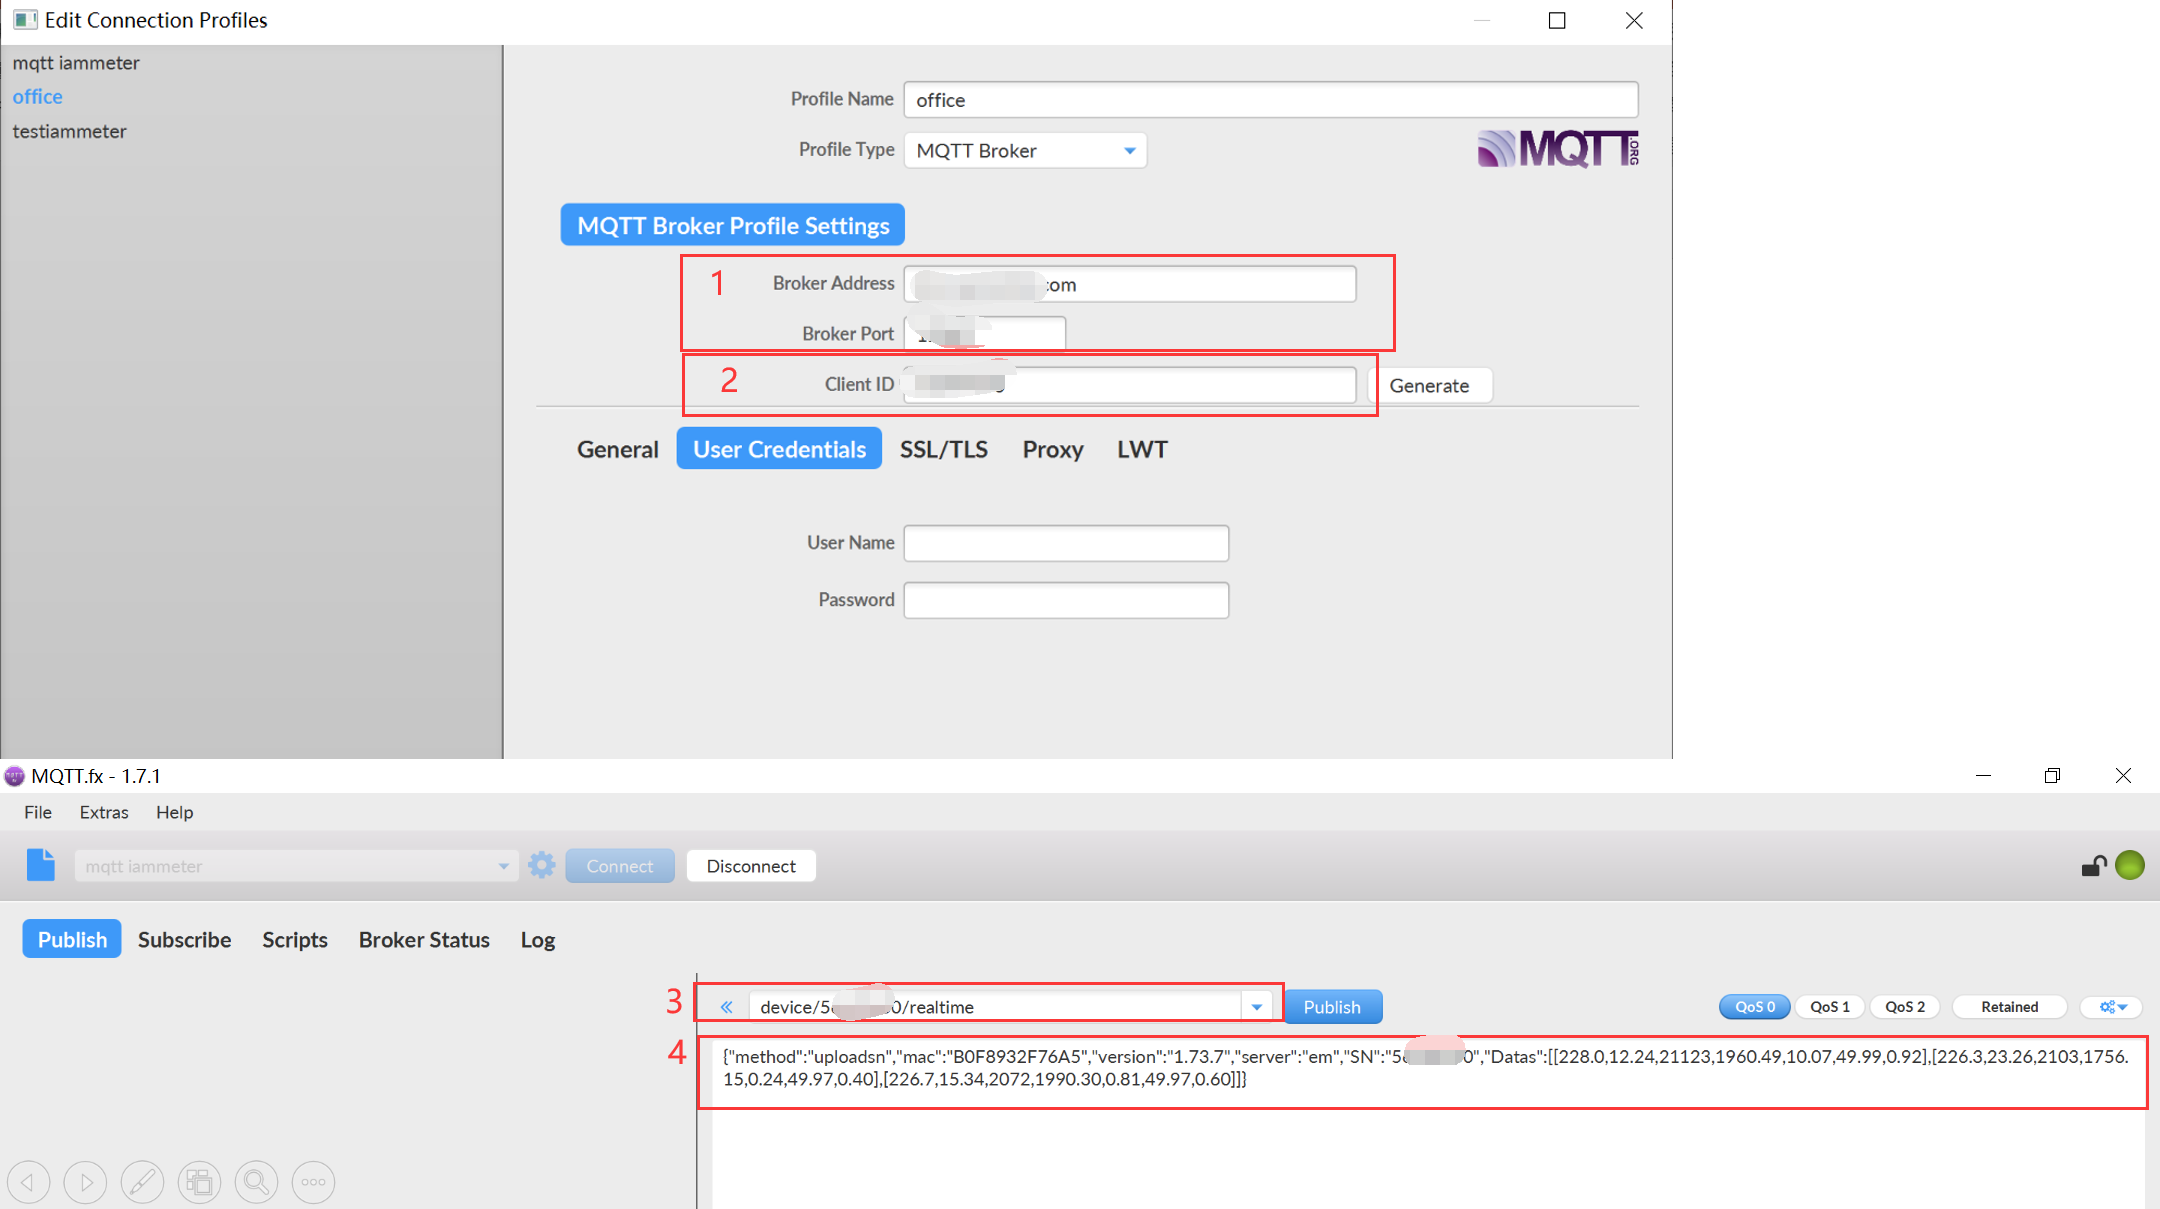
Before using production data:
For an MQTT subscriber:
| Setting | Value |
|---|---|
| Broker | IAMMETER-Docker server address |
| Port | 1883 by default |
| Authentication | IAMMETER-Docker username and password |
| Topic | device/<SN>/realtime |
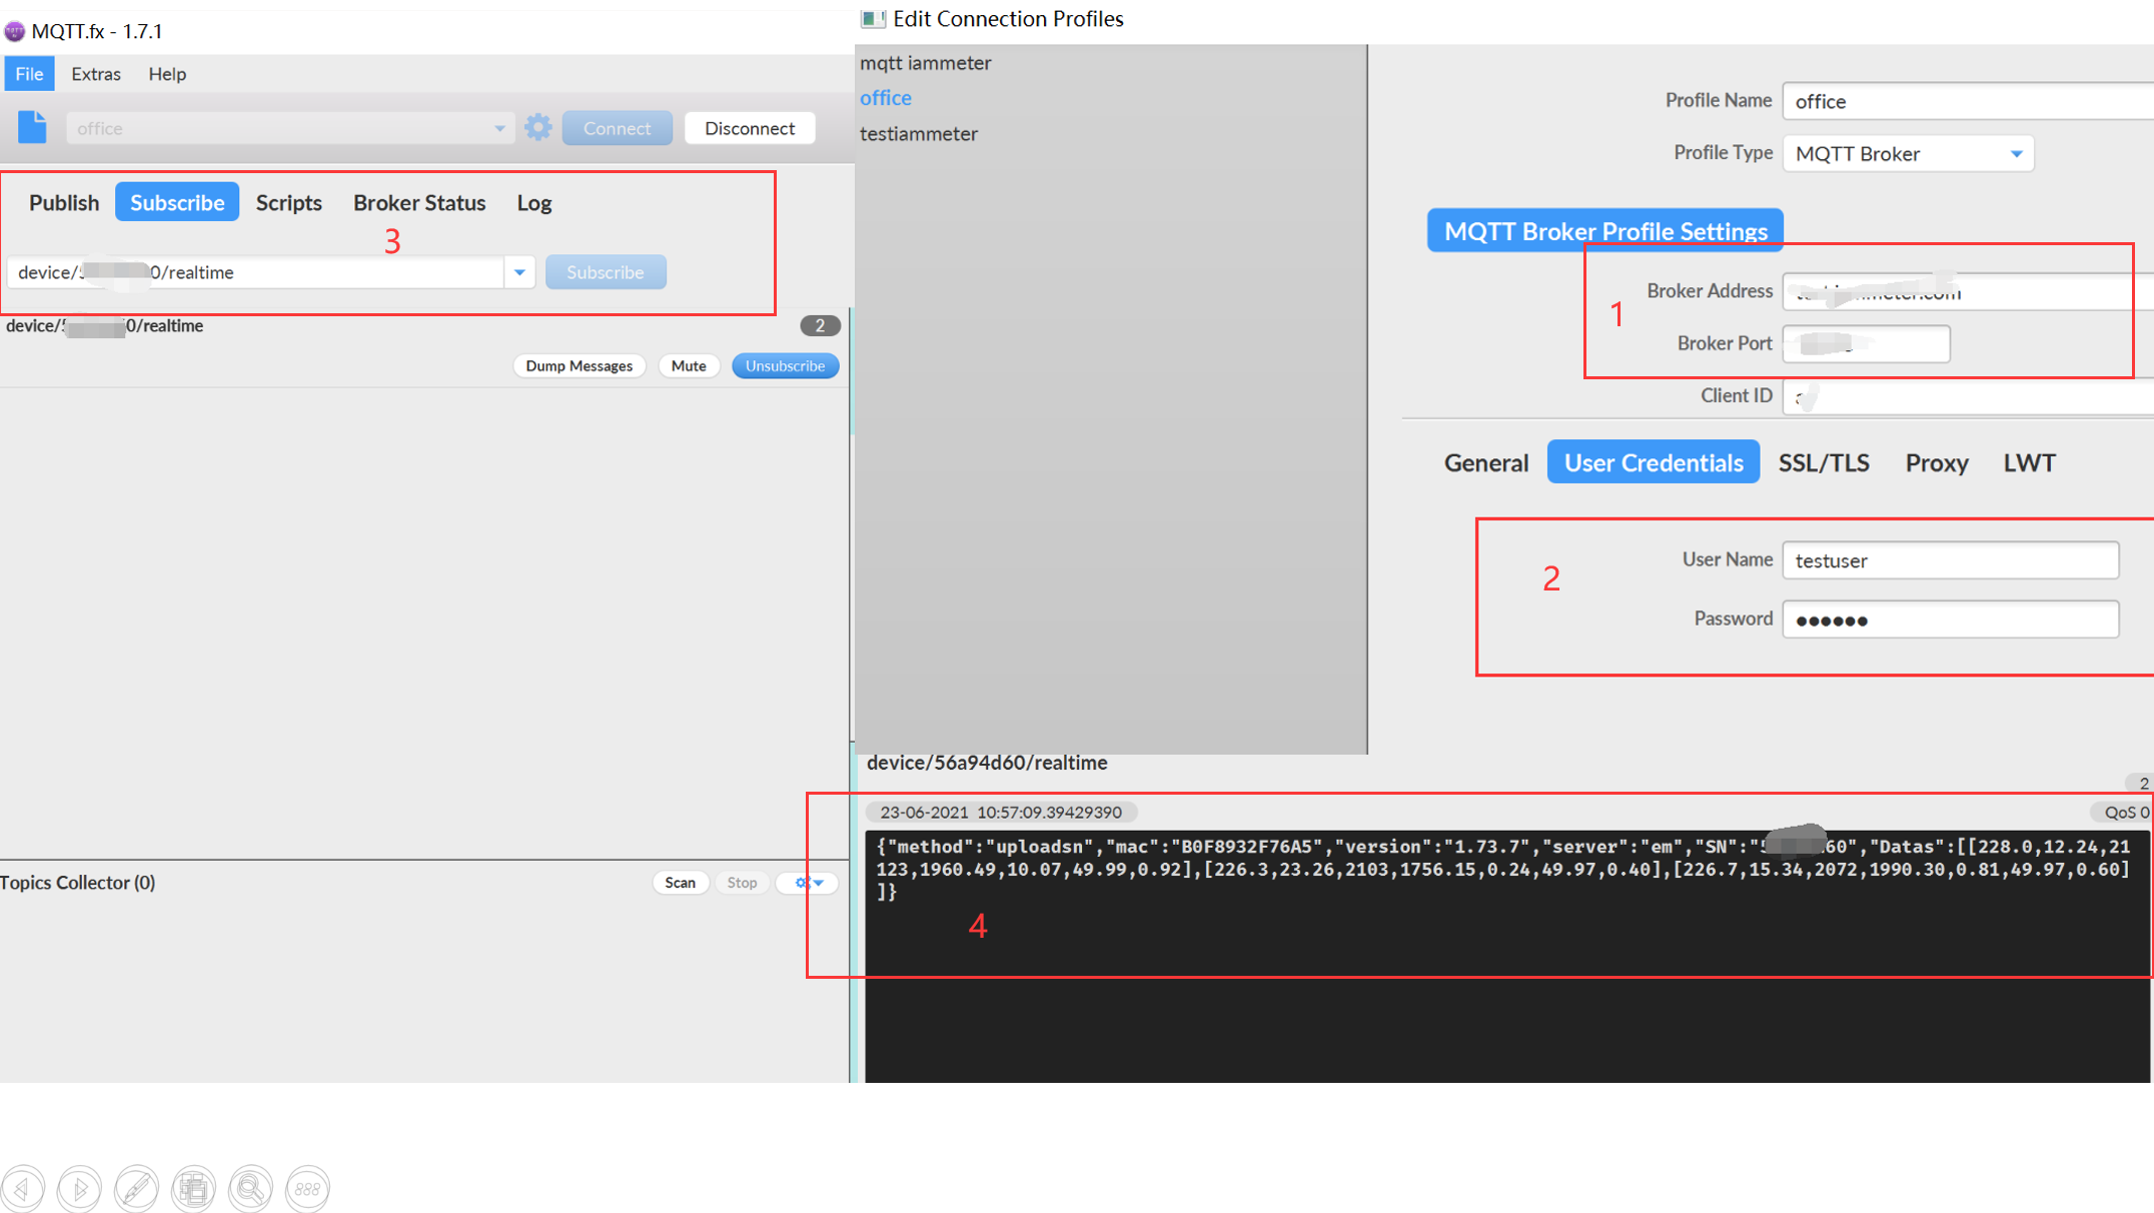
Typical subscribers include:
If Node-RED is the primary application and historical storage in IAMMETER-Docker is not required, the meter can also connect to Node-RED through MQTT, Modbus TCP or its local API directly. Compare the options in the Node-RED energy meter guide.
Start with a single meter and exact topic rather than a broad wildcard subscription.
Check the following when no data appears:
1883 is mapped from the container;device/<SN>/realtime with the expected capitalization;For reliable flows:
PVOutput is a third-party service for sharing and comparing solar generation and energy-consumption data. IAMMETER-Docker can forward site data to PVOutput.
Use this option when IAMMETER-Docker remains the local collection server but PVOutput is required for public or external solar reporting.
Before enabling forwarding:
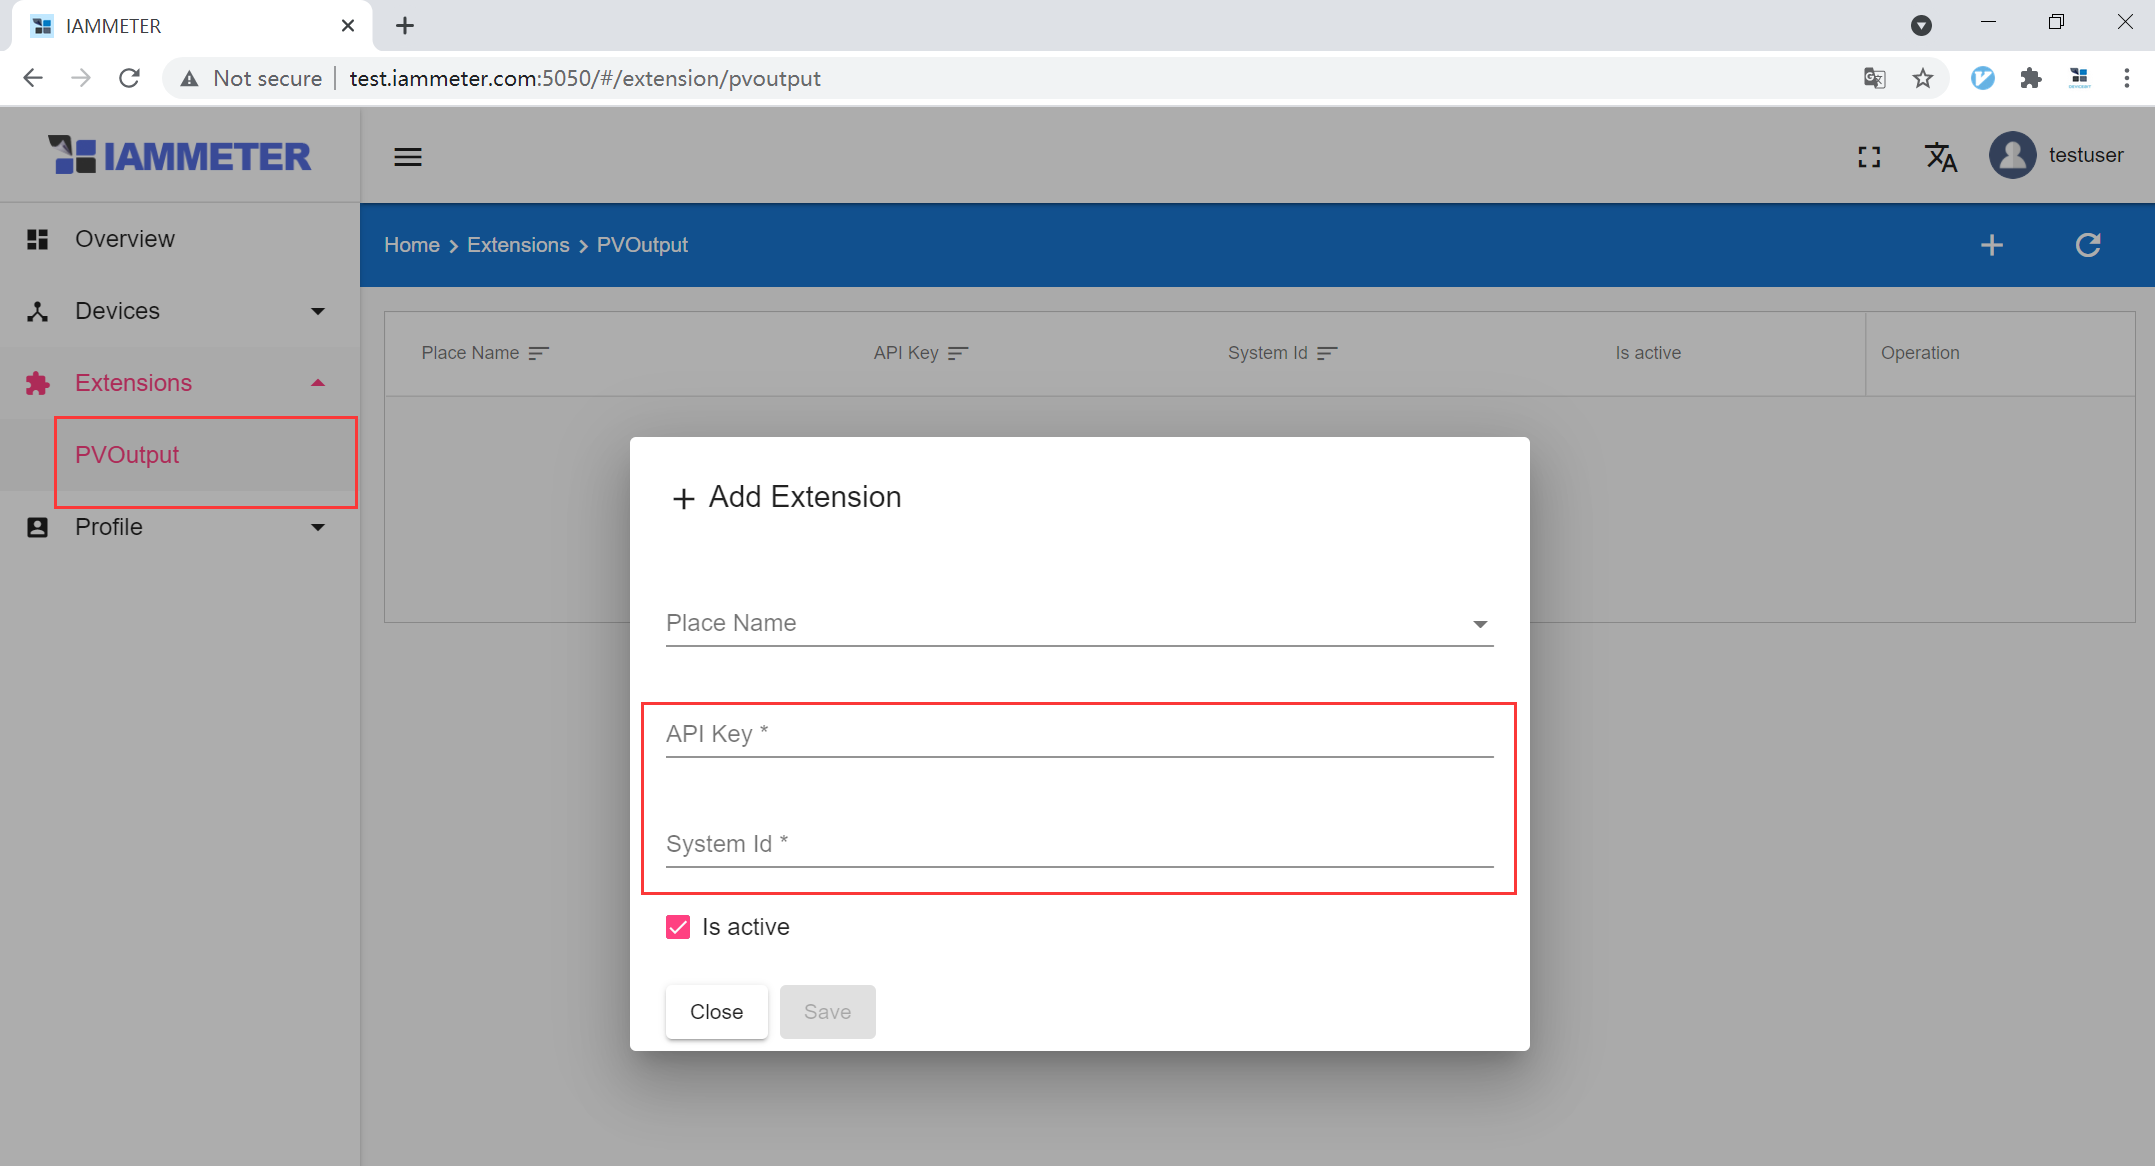
PVOutput forwarding requires Internet access from the Docker host. It is separate from local monitoring: a temporary PVOutput connection failure should not prevent the meter from continuing to upload to the local server.
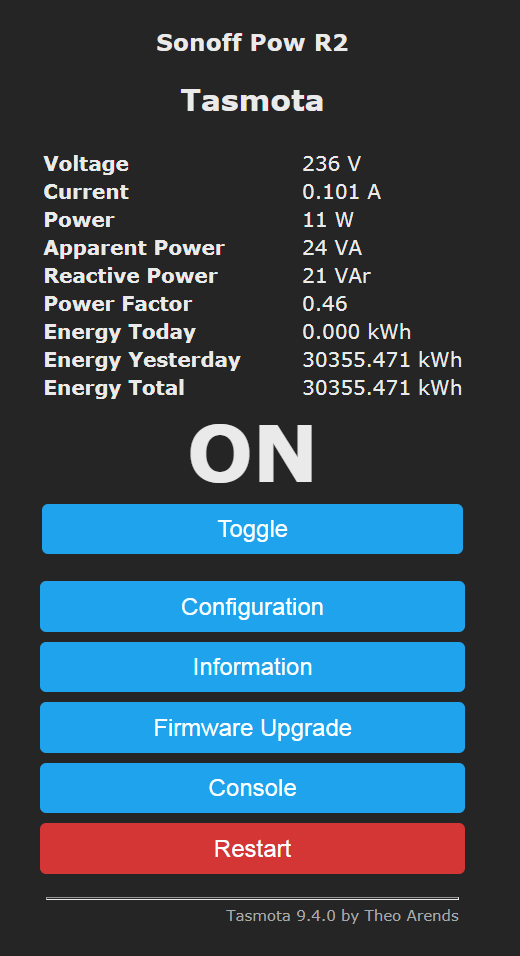
IAMMETER-Docker includes a documented MQTT workflow for a metering-capable device running Tasmota. The original example used a Sonoff POW R2.
This is a compatibility path for supported energy payloads, not a claim that every Tasmota device or template produces the same measurement structure. Test the actual device and firmware before deployment.
Use the following Tasmota MQTT structure:
| Setting | Value |
|---|---|
| Host | IAMMETER-Docker IP address |
| Port | IAMMETER-Docker MQTT port, normally 1883 |
| Client | SN registered in IAMMETER-Docker |
| User | Leave blank for this documented publishing workflow |
| Password | Leave blank for this documented publishing workflow |
| Topic | SN registered in IAMMETER-Docker |
| Full Topic | device/%topic%/%prefix%/ |
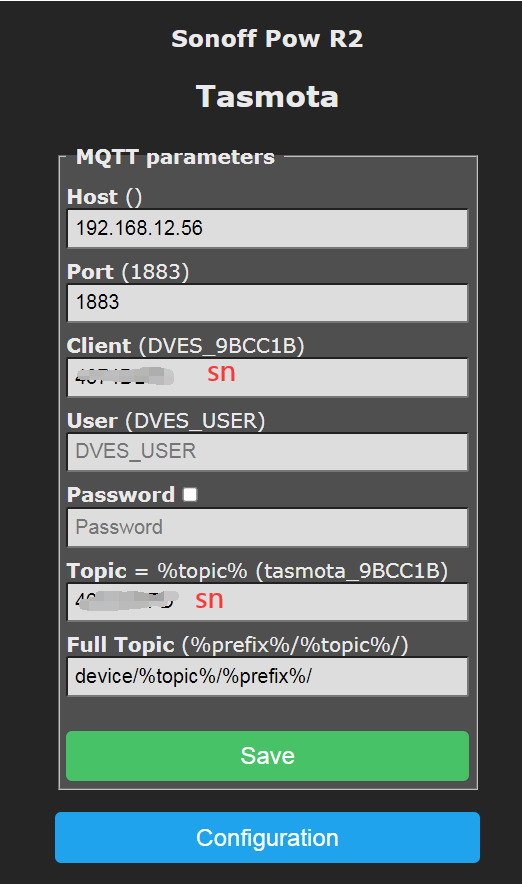
After configuration, verify each reported value in IAMMETER-Docker, including voltage, current, active power, energy and power factor when supported by the device.
IAMMETER-Docker exposes interactive API documentation on the local server:
http://<docker-host-ip>:5050/docs
The REST API can be used to:
Keep API access on a trusted network. If an external system must connect remotely, place the service behind an appropriate secure access layer rather than exposing the application port without protection.
For developers building a complete receiver or custom platform instead of using IAMMETER-Docker, see Develop Your Own Energy Monitoring System.
Self-hosting does not have to mean that every external service is disabled. IAMMETER-Docker can be the local system of record while selected data is forwarded elsewhere.
| Architecture | Local data | Internet dependency | Best for |
|---|---|---|---|
| Local only | IAMMETER-Docker | Not required after deployment | Privacy, offline sites and LAN dashboards |
| Local + IAMMETER-Cloud | IAMMETER-Docker and IAMMETER-Cloud | Required for forwarding | Local copy plus IAMMETER-Cloud reports and remote access |
| Local + PVOutput | IAMMETER-Docker and PVOutput | Required for forwarding | Solar users who use PVOutput |
| Local + MQTT subscriber | IAMMETER-Docker plus subscriber-defined storage | Not required with a local subscriber | Node-RED, automation and custom processing |
Enable only the destinations that serve a clear purpose. More destinations create more credentials, network dependencies and troubleshooting paths.
1883 is reachable only from trusted networks.The sections above describe the currently documented IAMMETER-Docker workflows. The original page was written around V1.8 and V1.9; the following history is retained for users maintaining older installations.
/app/datalogger directory is mounted.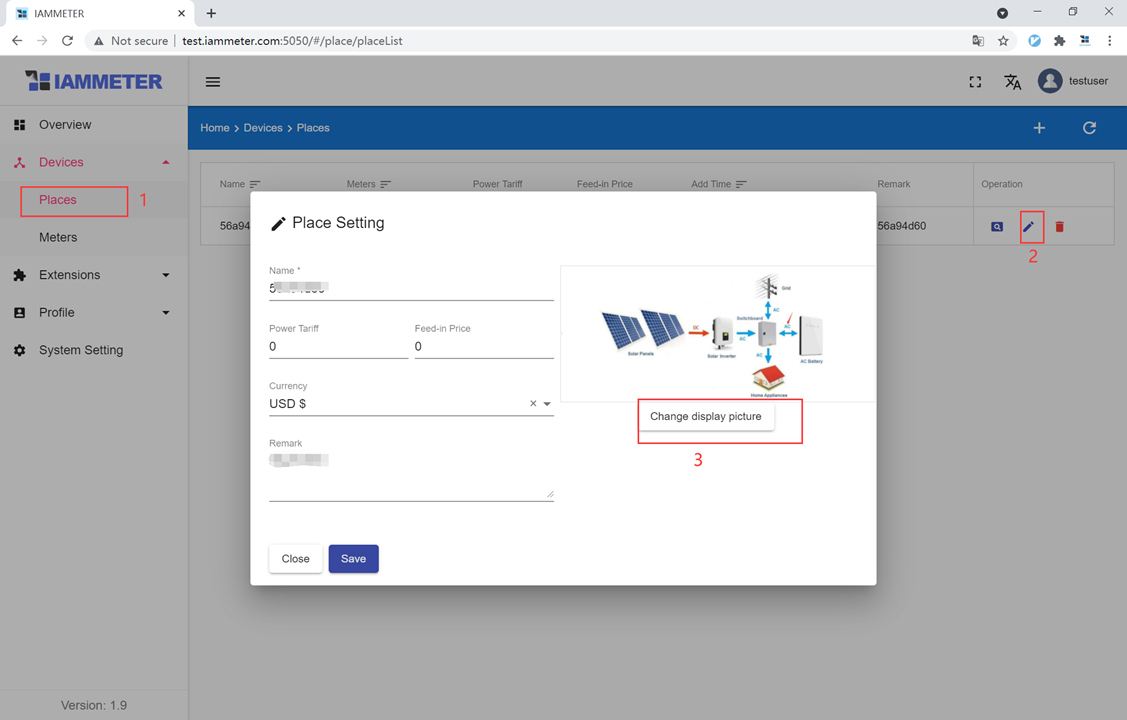
Last updated: July 17, 2026.
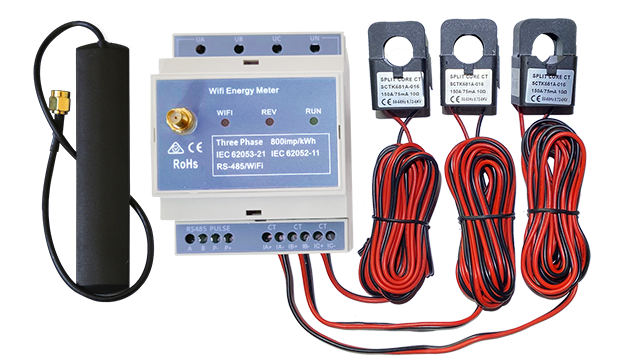
Three Phase Wi-Fi Energy Meter (WEM3080T)
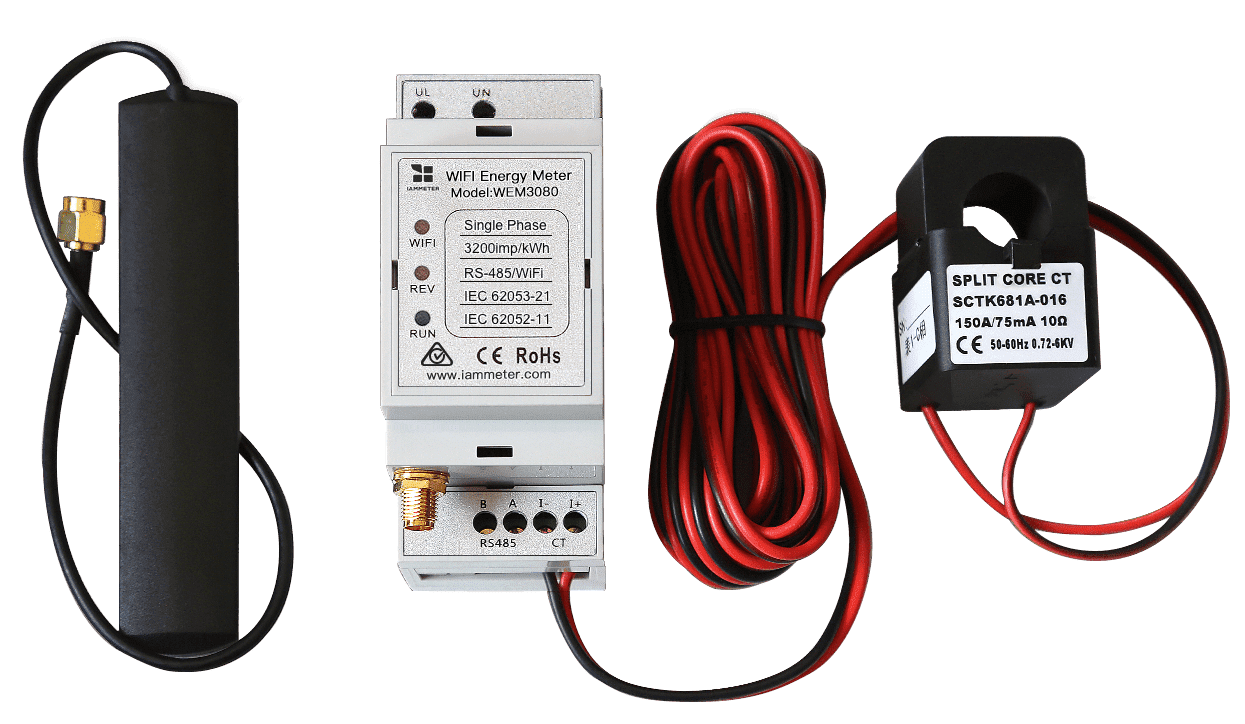
Single Phase Wi-Fi Energy Meter (WEM3080)
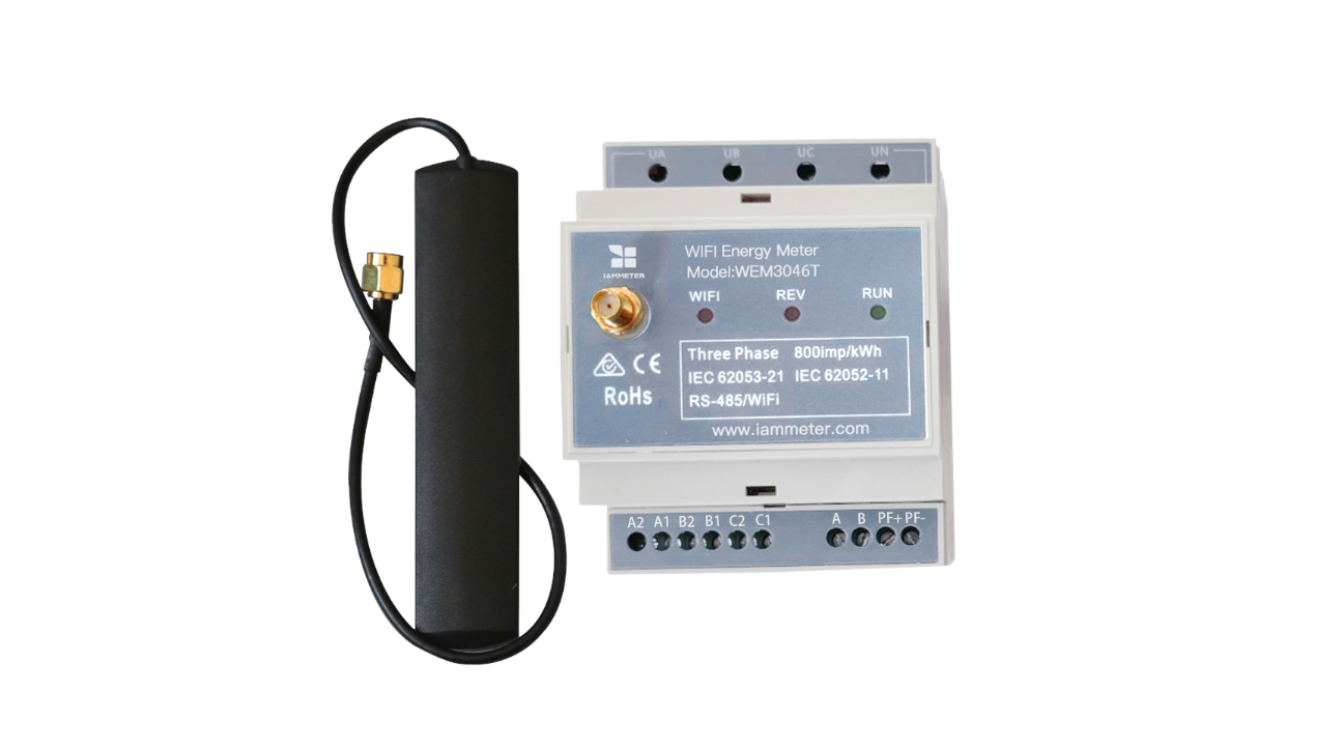
Three Phase Wi-Fi Energy Meter (WEM3046T)
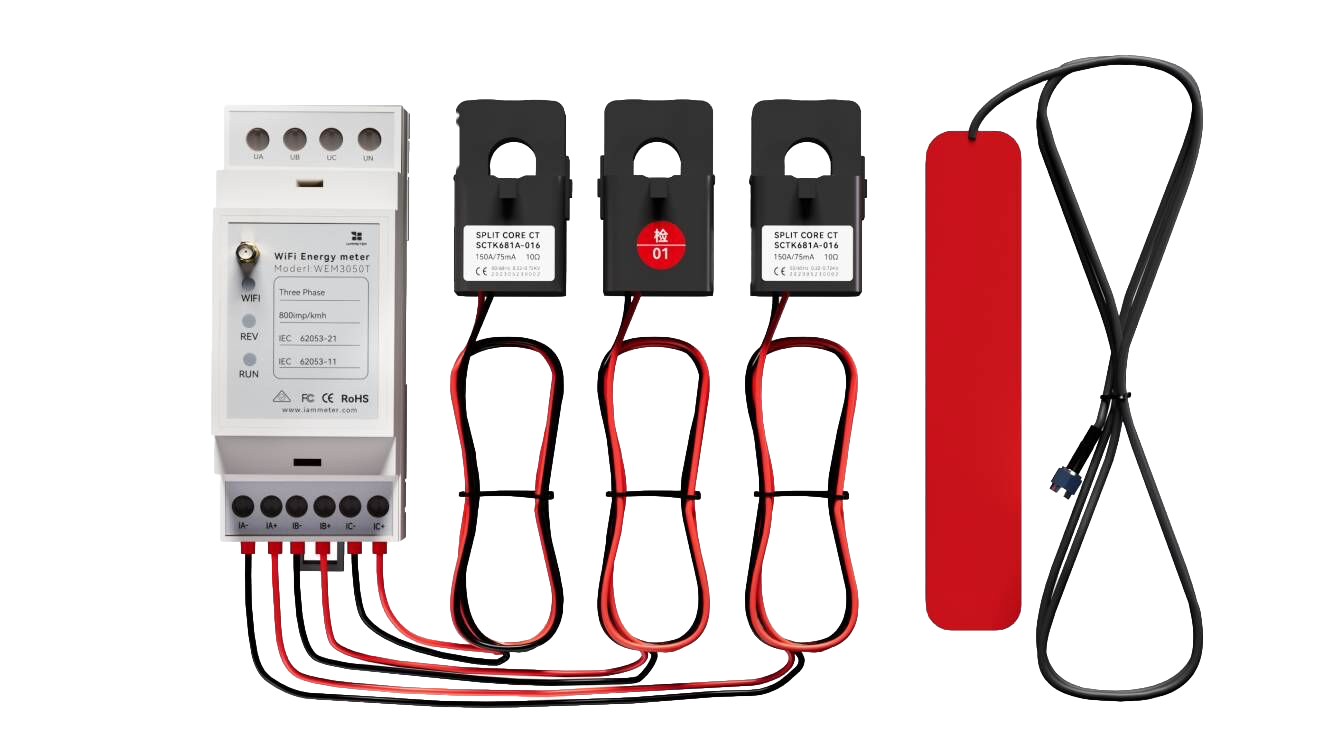
Three Phase Wi-Fi Energy Meter (WEM3050T)