


MQTT Energy Meter for Home Assistant: Manual YAML Setup
Manually Configure an MQTT Energy Meter in Home Assistant
An MQTT energy meter can publish voltage, current, active power, and imported/exported energy to a broker on your local network. Home Assistant subscribes to that data and converts the JSON values into sensor entities that can be used in dashboards, automations, and the Energy Dashboard.
This guide explains the Manual MQTT method for IAMMETER energy meters:
- configure the MQTT broker in the meter's WebUI;
- connect Home Assistant to the same broker;
- define the required MQTT sensors in YAML;
- add imported and exported energy to the Energy Dashboard.
Manual MQTT gives you full control over entity names, topics, templates, and metadata. If you prefer Home Assistant to create the device and entities automatically, use MQTT Discovery instead.
Manual MQTT and MQTT Discovery are different methods
Both methods use an MQTT broker, but the Home Assistant setup is different.
| Feature | Manual MQTT | MQTT Discovery |
|---|---|---|
| Meter-side broker configuration | Required | Required |
| HA MQTT Integration | Required | Required |
| YAML sensor definitions | Required | Not required |
| Entity names and templates | Fully controlled by the user | Created by the meter |
| Automatic device/entity creation | No | Yes |
| Best for | Custom MQTT systems and entity definitions | Fastest Home Assistant setup |
For this guide, leave HA MQTT Discovery disabled in the meter WebUI. That switch is only required when you want Home Assistant automatic discovery.
What you need
- an IAMMETER energy meter with current firmware;
- an MQTT broker reachable by both the meter and Home Assistant;
- the broker address, port, username, and password;
- the meter's serial number;
- access to Home Assistant YAML configuration.
The broker can run on the same machine as Home Assistant, in the Mosquitto broker add-on, on another LAN server, or on a remote host. Use a local broker when you want the complete data path to remain inside the LAN.
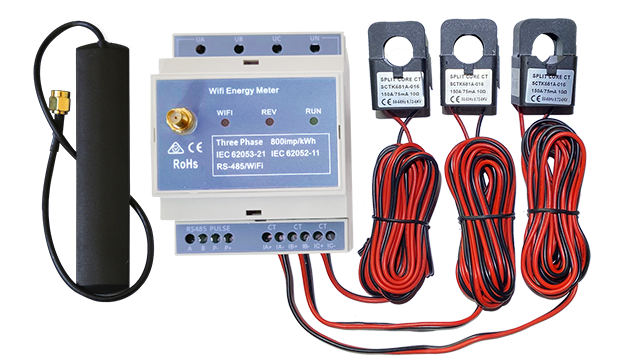
All current IAMMETER meters support Manual MQTT. Single-phase, dual-channel, and three-phase models publish different JSON array structures, so the value templates must match the actual payload.
Step 1: Configure the MQTT broker in the meter WebUI
Open the meter's local WebUI and go to Settings. Configure:
| Setting | Value |
|---|---|
| Run Mode | MQTT |
| Address | MQTT broker hostname/IP and port |
| Username | Broker username, if required |
| Password | Broker password, if required |
| HA MQTT Discovery | Disabled for this Manual MQTT guide |
Save the settings and allow the meter to reconnect.
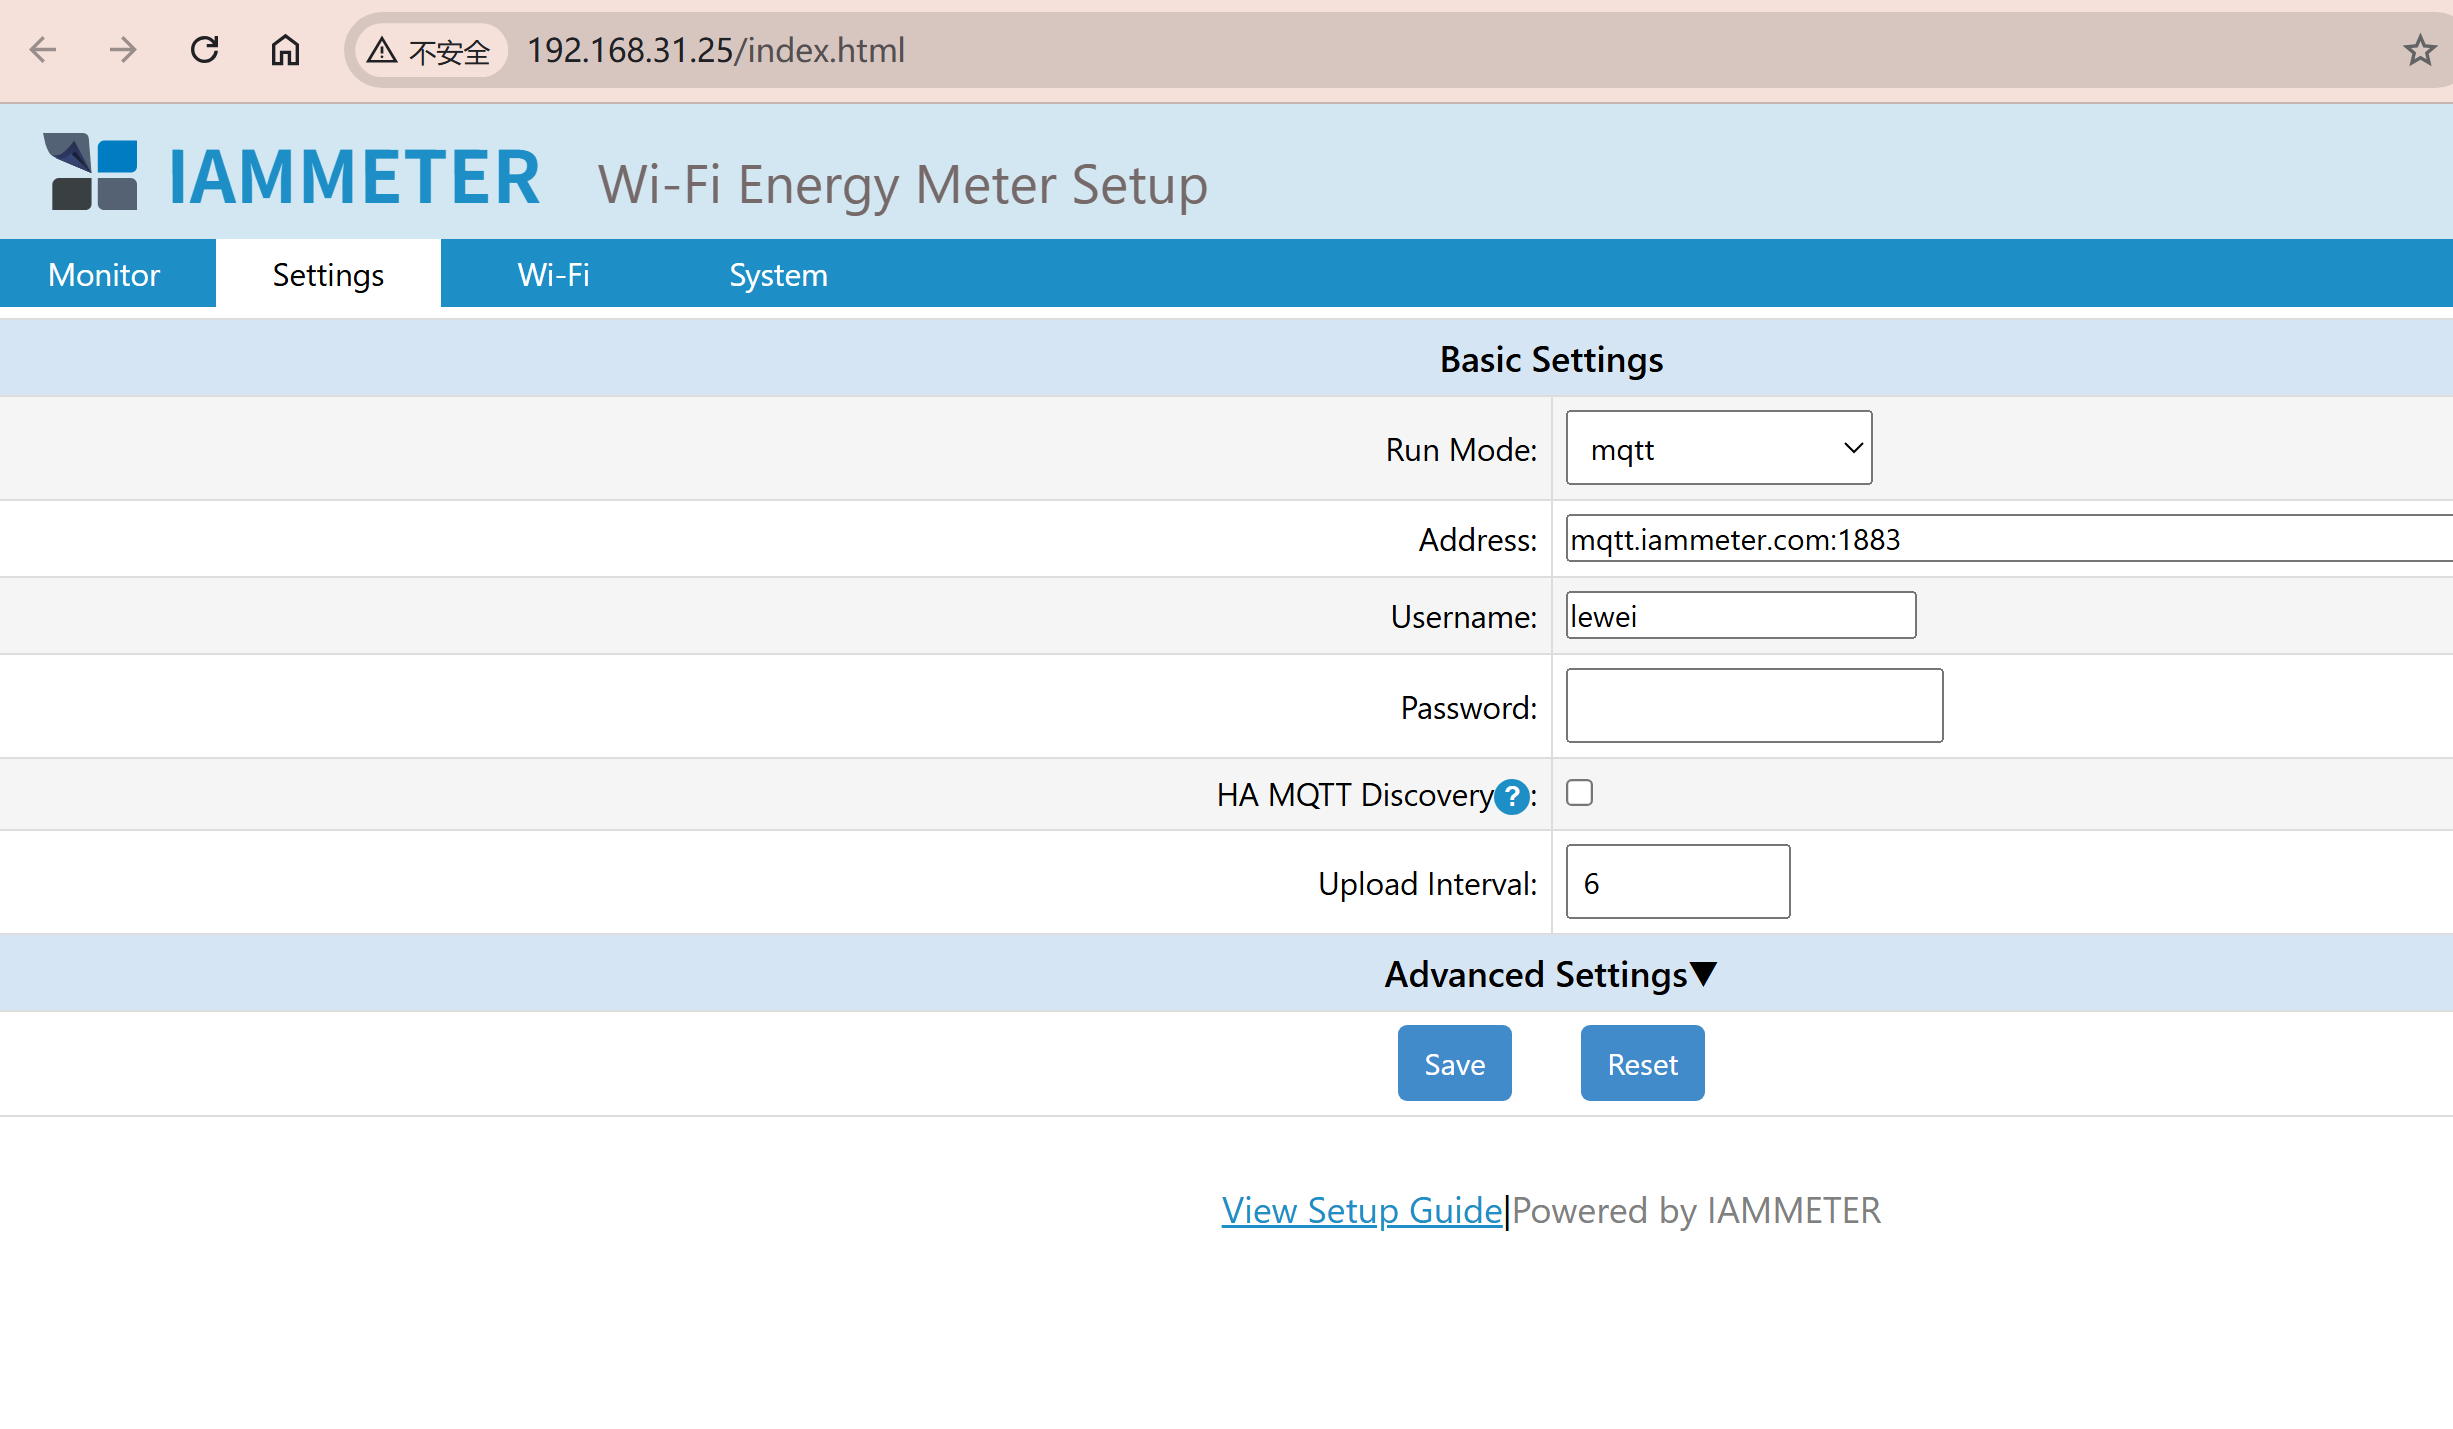
The current firmware WebUI supports these broker settings directly. You do not need to configure the username and password through the historical local API procedure.
For complete meter-side configuration and older-firmware instructions, see publish IAMMETER data to an MQTT broker.
MQTT mode and IAMMETER Cloud
When the meter's Run Mode is changed to MQTT, it publishes measurements to your broker instead of uploading them to IAMMETER Cloud. Manual MQTT and IAMMETER Cloud therefore do not run simultaneously from the same meter.
If you need Home Assistant and IAMMETER Cloud at the same time, use a local HTTP or Modbus TCP integration instead. Compare the available methods in the Home Assistant energy meter integration guide.
Step 2: Verify the MQTT topic and payload
IAMMETER publishes real-time measurements to:
device/{SN}/realtime
Replace {SN} with the meter's serial number. For example:
device/80123456/realtime
Before configuring Home Assistant sensors, subscribe to the topic with an MQTT client and confirm that messages are arriving. This prevents YAML troubleshooting from being mixed with broker, credential, firewall, or topic problems.
Single-phase JSON
A single-phase meter uses a Data array. The first five values are:
| Array position | Measurement |
|---|---|
Data[0] |
Voltage |
Data[1] |
Current |
Data[2] |
Active power |
Data[3] |
Imported energy |
Data[4] |
Exported energy |
Example:
{
  "method": "uploadsn",
  "SN": "12345678",
  "Data": [228.91, 1.61, 225, 15066.47, 0]
}
Multi-channel and three-phase JSON
Multi-channel and three-phase meters use a Datas array. Each nested array represents a phase or measurement channel:
Datas[0] → phase/channel A
Datas[1] → phase/channel B
Datas[2] → phase/channel C, when present
Within each phase/channel array, the common positions are:
| Array position | Measurement |
|---|---|
[0] |
Voltage |
[1] |
Current |
[2] |
Active power |
[3] |
Imported energy |
[4] |
Exported energy |
[5] |
Frequency, where provided |
[6] |
Power factor, where provided |
Always inspect the actual MQTT message from your model and firmware before copying templates. See the complete IAMMETER JSON data definition.
Step 3: Connect Home Assistant to the broker
In Home Assistant:
- Go to Settings → Devices & services.
- Select Add integration.
- Search for MQTT.
- Enter the same broker address, port, username, and password used by the meter.
- Confirm that the MQTT Integration connects successfully.
If Home Assistant already uses this broker, do not add a duplicate MQTT Integration. The manually defined sensors will use the existing broker connection.
Step 4: Add Manual MQTT sensors in YAML
The examples below use Home Assistant's current mqtt: sensor: configuration structure. Replace the serial number in every state_topic.
Single-phase energy meter YAML
mqtt:
  sensor:
    - name: "IAMMETER Voltage"
      unique_id: "iammeter_12345678_voltage"
      state_topic: "device/12345678/realtime"
      value_template: "{{ value_json.Data[0] | float(0) }}"
      unit_of_measurement: "V"
      device_class: voltage
      state_class: measurement

    - name: "IAMMETER Current"
      unique_id: "iammeter_12345678_current"
      state_topic: "device/12345678/realtime"
      value_template: "{{ value_json.Data[1] | float(0) }}"
      unit_of_measurement: "A"
      device_class: current
      state_class: measurement

    - name: "IAMMETER Active Power"
      unique_id: "iammeter_12345678_active_power"
      state_topic: "device/12345678/realtime"
      value_template: "{{ value_json.Data[2] | float(0) }}"
      unit_of_measurement: "W"
      device_class: power
      state_class: measurement

    - name: "IAMMETER Imported Energy"
      unique_id: "iammeter_12345678_import_energy"
      state_topic: "device/12345678/realtime"
      value_template: "{{ value_json.Data[3] | float(0) }}"
      unit_of_measurement: "kWh"
      device_class: energy
      state_class: total_increasing

    - name: "IAMMETER Exported Energy"
      unique_id: "iammeter_12345678_export_energy"
      state_topic: "device/12345678/realtime"
      value_template: "{{ value_json.Data[4] | float(0) }}"
      unit_of_measurement: "kWh"
      device_class: energy
      state_class: total_increasing
unique_id lets Home Assistant manage entity settings in the UI. Keep every ID unique and stable. Do not change it merely to rename the displayed entity.
Three-phase energy meter YAML
The following example creates the phase-A entities. Duplicate the block for phases B and C, changing Datas[0] to Datas[1] and Datas[2], and use distinct names and unique IDs.
mqtt:
  sensor:
    - name: "IAMMETER Voltage A"
      unique_id: "iammeter_80123456_voltage_a"
      state_topic: "device/80123456/realtime"
      value_template: "{{ value_json.Datas[0][0] | float(0) }}"
      unit_of_measurement: "V"
      device_class: voltage
      state_class: measurement

    - name: "IAMMETER Current A"
      unique_id: "iammeter_80123456_current_a"
      state_topic: "device/80123456/realtime"
      value_template: "{{ value_json.Datas[0][1] | float(0) }}"
      unit_of_measurement: "A"
      device_class: current
      state_class: measurement

    - name: "IAMMETER Active Power A"
      unique_id: "iammeter_80123456_active_power_a"
      state_topic: "device/80123456/realtime"
      value_template: "{{ value_json.Datas[0][2] | float(0) }}"
      unit_of_measurement: "W"
      device_class: power
      state_class: measurement

    - name: "IAMMETER Imported Energy A"
      unique_id: "iammeter_80123456_import_energy_a"
      state_topic: "device/80123456/realtime"
      value_template: "{{ value_json.Datas[0][3] | float(0) }}"
      unit_of_measurement: "kWh"
      device_class: energy
      state_class: total_increasing

    - name: "IAMMETER Exported Energy A"
      unique_id: "iammeter_80123456_export_energy_a"
      state_topic: "device/80123456/realtime"
      value_template: "{{ value_json.Datas[0][4] | float(0) }}"
      unit_of_measurement: "kWh"
      device_class: energy
      state_class: total_increasing
For WEM2067 and other multi-channel models, create only the number of channel blocks present in the actual Datas payload.
Avoid two top-level mqtt: blocks
If configuration.yaml already contains an mqtt: section, add the sensors under the existing section. YAML cannot safely contain two independent top-level keys with the same name.
For a large configuration, you can keep MQTT sensors in an included file, but follow Home Assistant's include structure and indentation rules.
Step 5: Check the configuration and load the sensors
After saving the YAML:
- run Home Assistant's configuration check;
- correct any YAML, indentation, or template errors;
- restart Home Assistant if required;
- open Developer tools → States;
- confirm that each MQTT entity has a plausible value, unit, device class, and state class.
The entity value should change after a new message arrives on device/{SN}/realtime.
Step 6: Add imported and exported energy to the Energy Dashboard
Home Assistant's Energy Dashboard requires cumulative energy entities. The YAML examples use:
unit_of_measurement: "kWh"
device_class: energy
state_class: total_increasing
Go to Settings → Dashboards → Energy and select:
- IAMMETER Imported Energy for grid consumption;
- IAMMETER Exported Energy for return to grid.
For a three-phase meter, choose the entity structure that matches the installation and Home Assistant dashboard design. You may expose phase energy individually or create an appropriate total entity, but do not add together values without confirming how the meter reports phase and net energy for the selected wiring mode.
Do not select the active-power entity measured in watts in an Energy Dashboard energy field. Power is an instantaneous rate; the dashboard requires cumulative kWh.
Choose an MQTT publishing interval
Current IAMMETER firmware supports an MQTT publishing interval down to 2 seconds. The shortest interval is not always the best setting.
Suggested starting points:
| Use case | Suggested interval |
|---|---|
| Fast local automation | 2–5 seconds |
| Live energy dashboard | 5–12 seconds |
| General monitoring | 10–60 seconds |
Consider broker capacity, Home Assistant recorder growth, network reliability, and the number of entities. A message containing many phase values can update several Home Assistant sensors at once.
Supported IAMMETER models
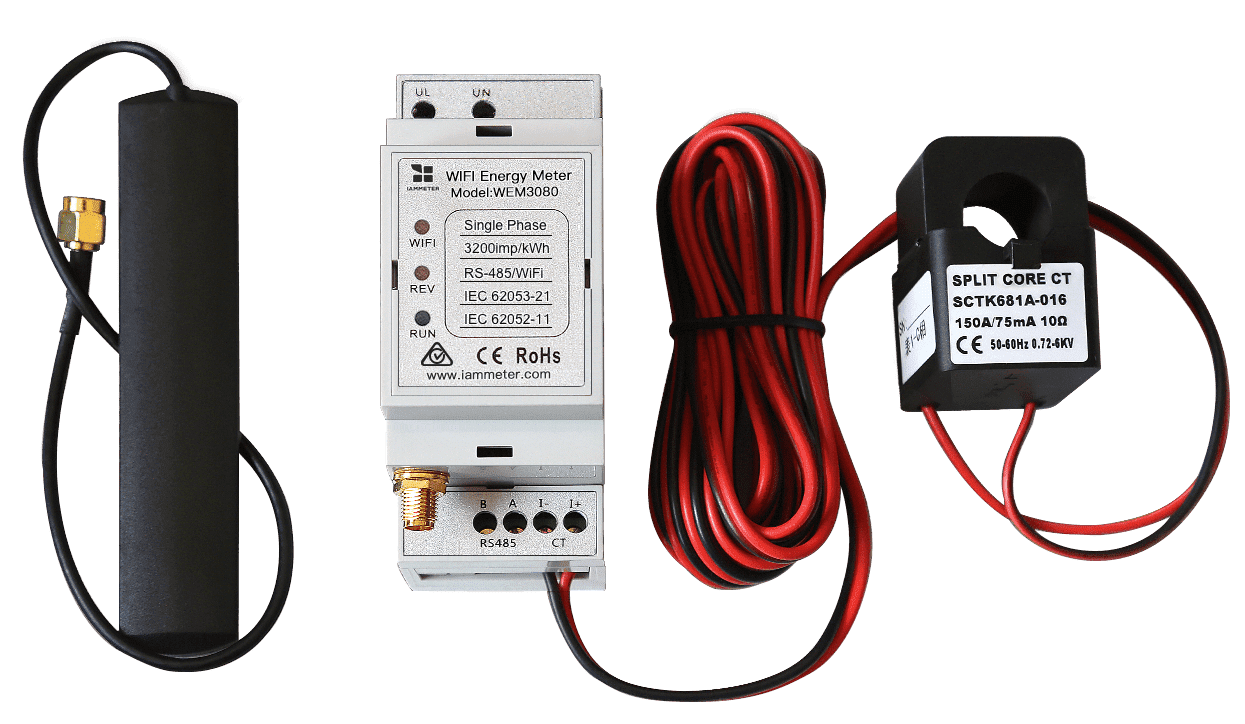
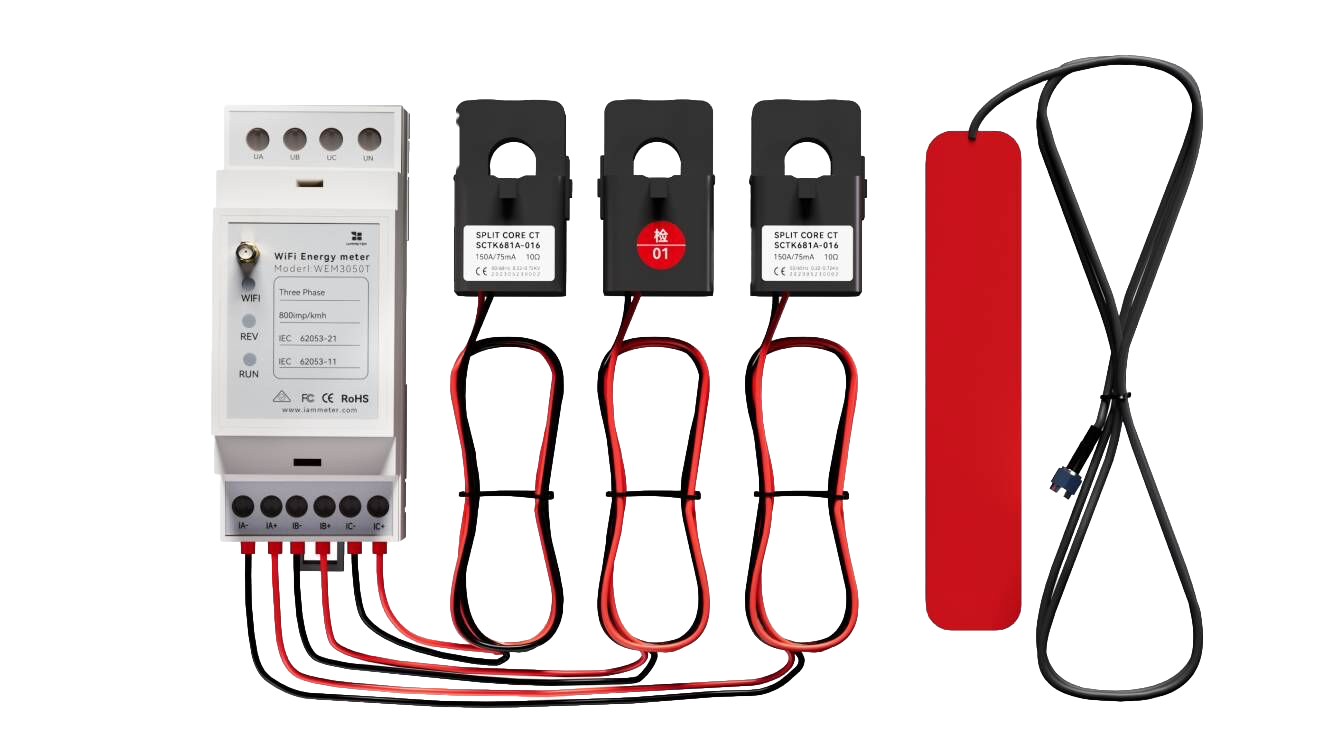
All current IAMMETER energy meters support Manual MQTT. Their main Home Assistant difference is the payload structure and number of measurement channels.
| Model | Typical structure | Product information |
|---|---|---|
| WEM3080 | Single Data array |
Single-phase energy meter |
| WEM2067 | Multi-channel Datas array |
Dual-channel meter for home solar |
| WEM3080T | Three-channel Datas array |
Three-phase energy meter |
| WEM3050T | Three-channel Datas array |
Home three-phase/split-phase meter |
| WEM3080TD | Model/wiring-specific multi-channel data | WEM3080TD |
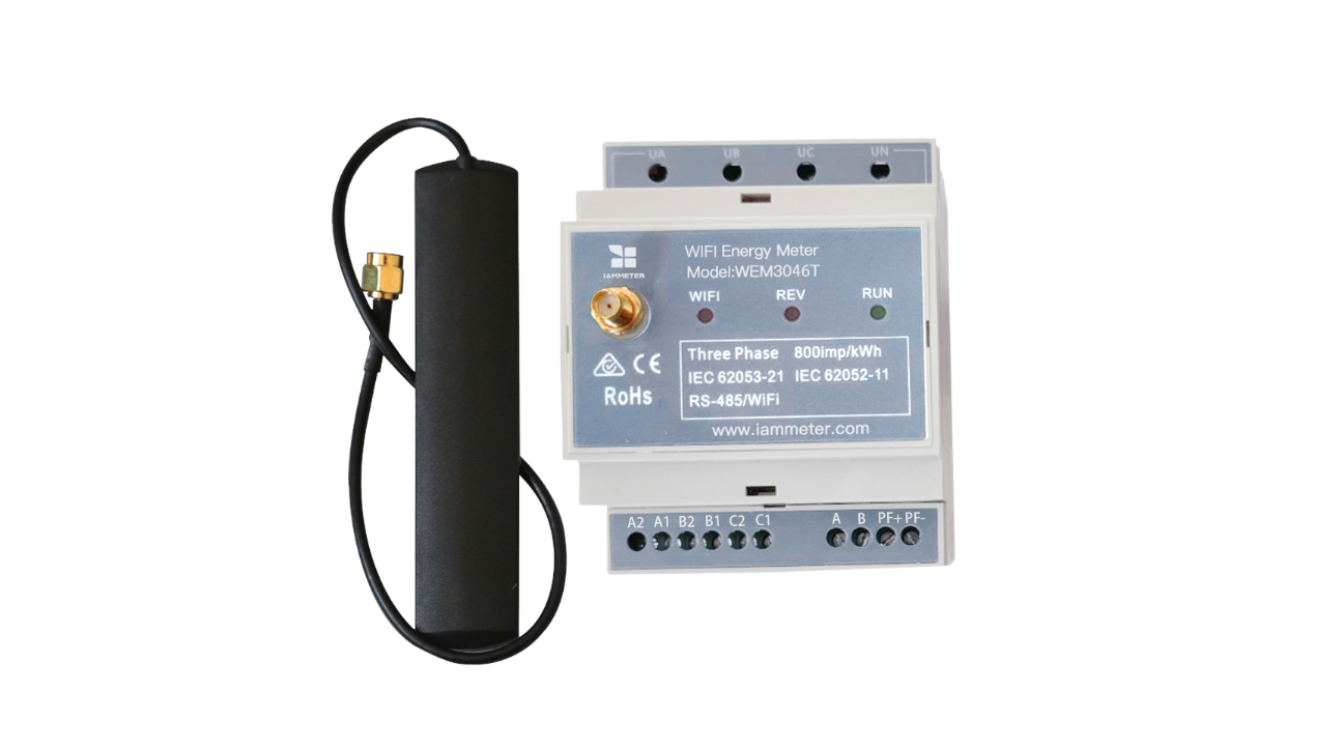
| WEM3046T / WEM3046TE | Three-channel data with external 5 A CT measurement | 5 A CT three-phase meter |
WEM3046T and WEM3046TE measure the 5 A secondary output of external CTs. Apply the correct CT ratio to obtain primary-side values. This is a characteristic of the metering system, not an MQTT or Home Assistant limitation.
Troubleshooting
No MQTT messages arrive
- Verify the broker address and port in the meter WebUI.
- Confirm the username and password.
- Check broker logs for authentication or connection errors.
- Confirm that the meter can reach the broker through any firewall or VLAN rules.
- Subscribe to
device/{SN}/realtimewith an independent MQTT client.
Messages arrive, but Home Assistant entities are unavailable
- Confirm that Home Assistant is connected to the same broker.
- Check the exact topic and serial number.
- Compare
DataversusDataswith the actual payload. - Validate YAML indentation and templates.
- Check Home Assistant logs after reloading or restarting.
Some entities show zero or the wrong measurement
- Do not copy a single-phase
Datatemplate for aDataspayload. - Verify the array position against the JSON definition.
- Confirm the phase/channel index.
- For WEM3046T/WEM3046TE, confirm the external CT ratio.
Energy entities are missing from the Energy Dashboard
Confirm all three fields:
unit_of_measurement: "kWh"
device_class: energy
state_class: total_increasing
Also confirm that the entity has received valid numeric data and appears in Developer tools → States.
Duplicate devices or sensors appear
Manual MQTT and MQTT Discovery can create separate entities from the same meter. If you are using the YAML method, keep HA MQTT Discovery disabled unless you deliberately want both sets and have planned unique entity names.
Related guides
- Publish IAMMETER data to your MQTT broker
- Use MQTT Discovery instead of YAML
- Compare all IAMMETER–Home Assistant integration methods
- IAMMETER JSON data definition
- Upgrade IAMMETER firmware
Updated: July 19, 2026.