


Control a Relay in Home Assistant Using Real-Time Power
Control a Relay in Home Assistant Using Real-Time Power Data
Home Assistant can use the real-time power measured by an energy meter to control a relay, smart plug, or contactor. This creates a simple closed-loop automation: the meter provides feedback, Home Assistant applies the control logic, and the switching device controls the load.
This example uses an IAMMETER energy meter over Modbus TCP and a Sonoff S26 smart plug, but the same logic can be used with an ESPHome device, Tasmota relay, or another switch already integrated with Home Assistant.
The example turns the relay on only after measured power remains above 1,000 W, and turns it off after power remains below 500 W. The gap between the two thresholds prevents rapid on/off switching when the reading fluctuates near one value.
This is an automation example, not a Modbus installation guide. First configure the meter by following the Home Assistant Modbus TCP energy meter setup guide.
How the power-based control loop works
The system contains three parts:
- Sensor: the energy meter supplies real-time active-power data.
- Controller: Home Assistant compares that value with the configured thresholds.
- Actuator: a relay, smart plug, or correctly rated contactor switches the target load.
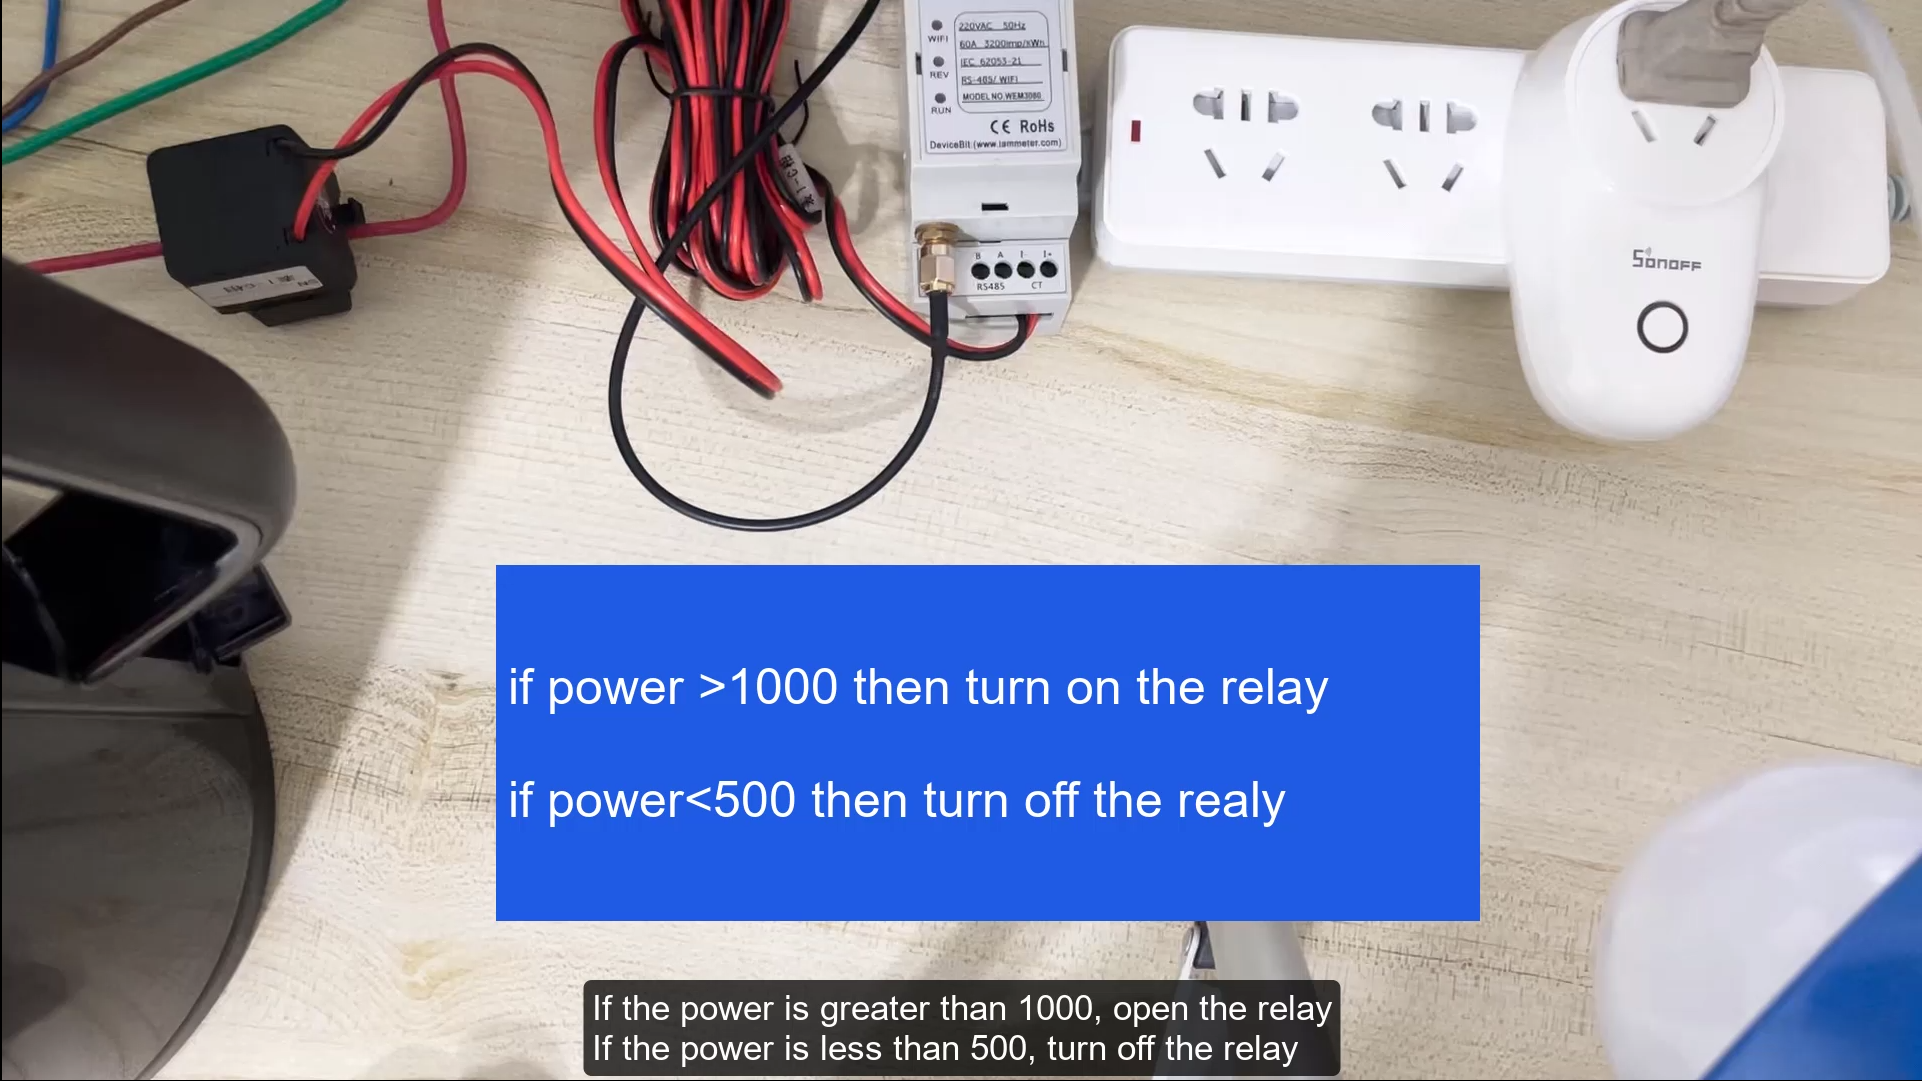
In the original test:
- IAMMETER supplied the Modbus power entity;
- a Sonoff S26 acted as the controllable switch;
- an electric kettle was used to create an easily visible change in measured load;
- Home Assistant evaluated the power reading and controlled the switch.
Watch the original demonstration video.
Before creating the automation
Confirm that the following entities already exist in Home Assistant:
- an active-power sensor, such as
sensor.iammeter_active_power; - a controllable switch, such as
switch.sonoff_s26.
The power sensor should:
- report active power in watts;
- update reliably over the local network;
- use a sign convention you understand;
- become
unavailablewhen the meter cannot be read, rather than silently retaining an old value indefinitely.
For the IAMMETER HACS Modbus integration, the scan interval is configurable and defaults to 3 seconds. A 3–5 second interval is usually fast enough for this type of automation. A one-second interval may be used when genuinely necessary, but it is not a requirement for reliable control.
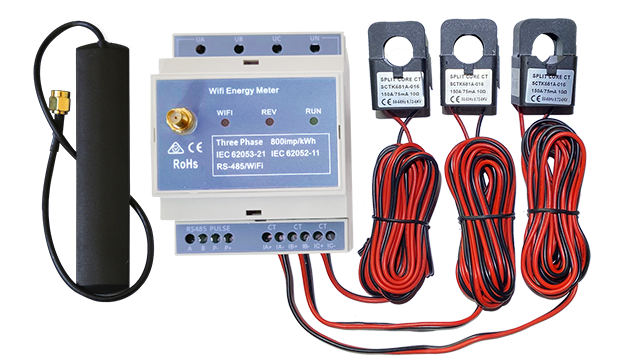
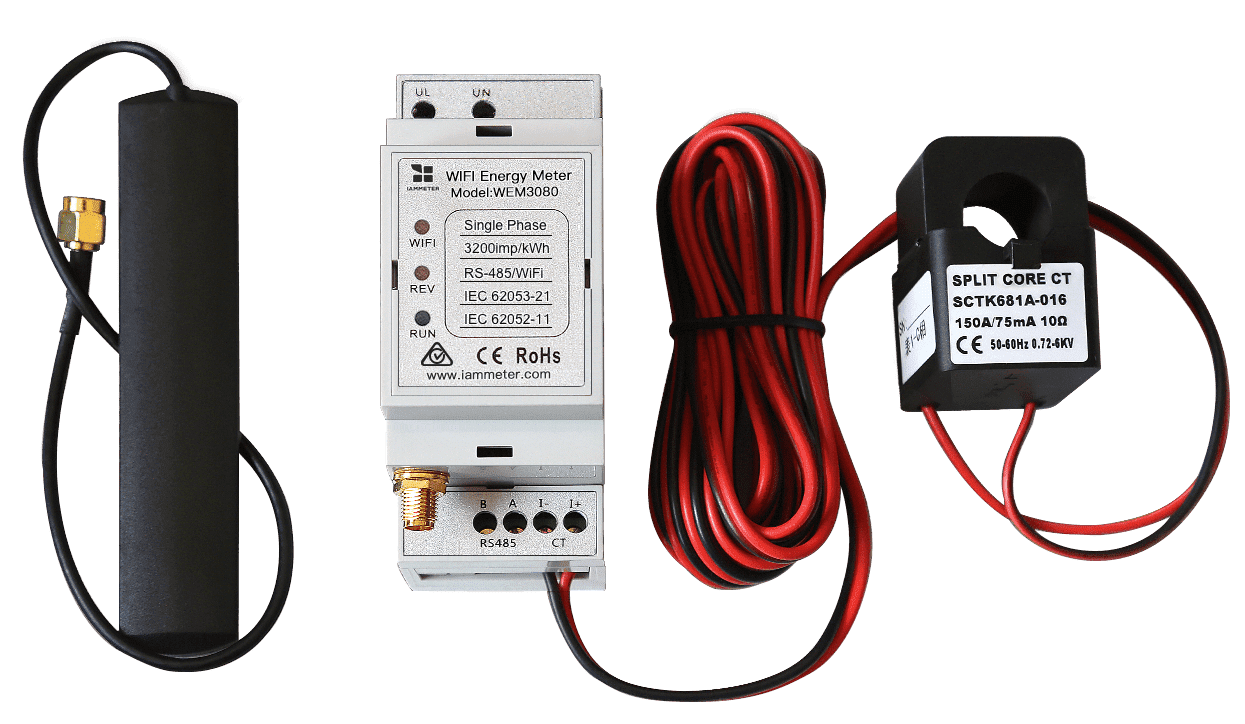
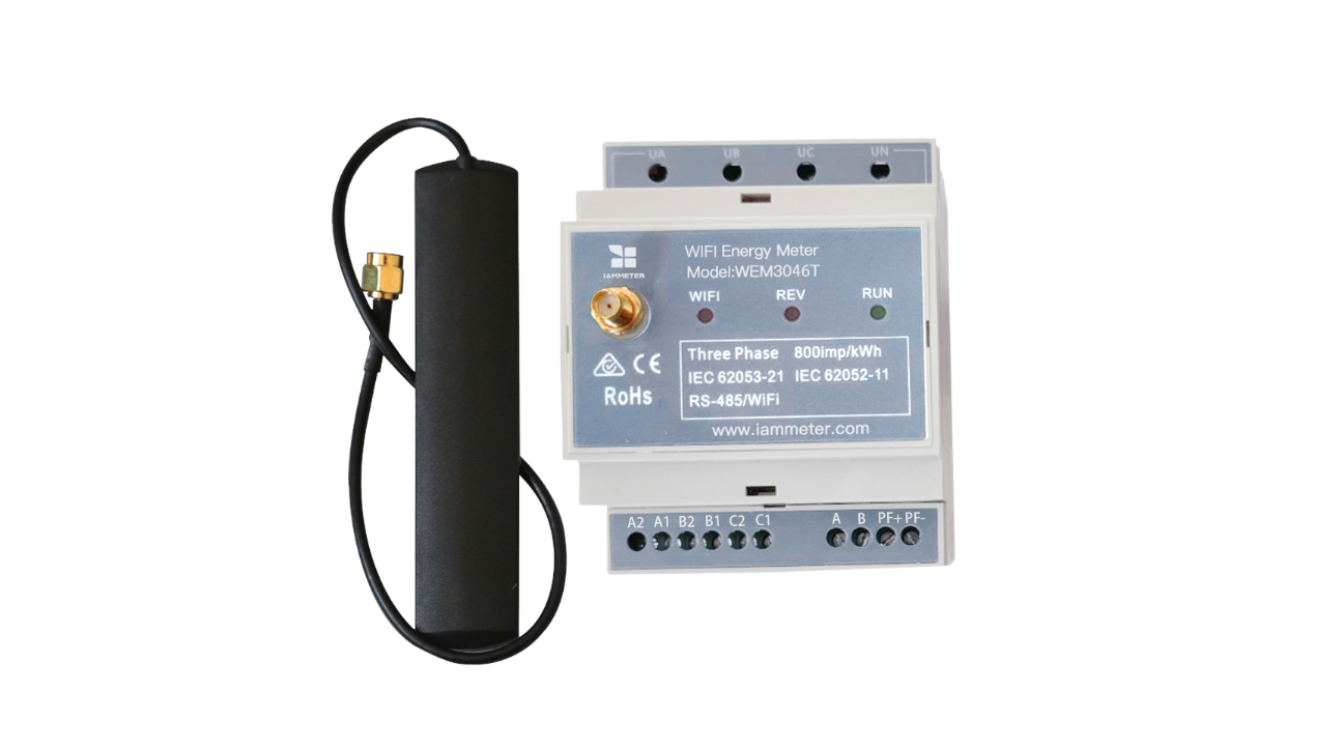
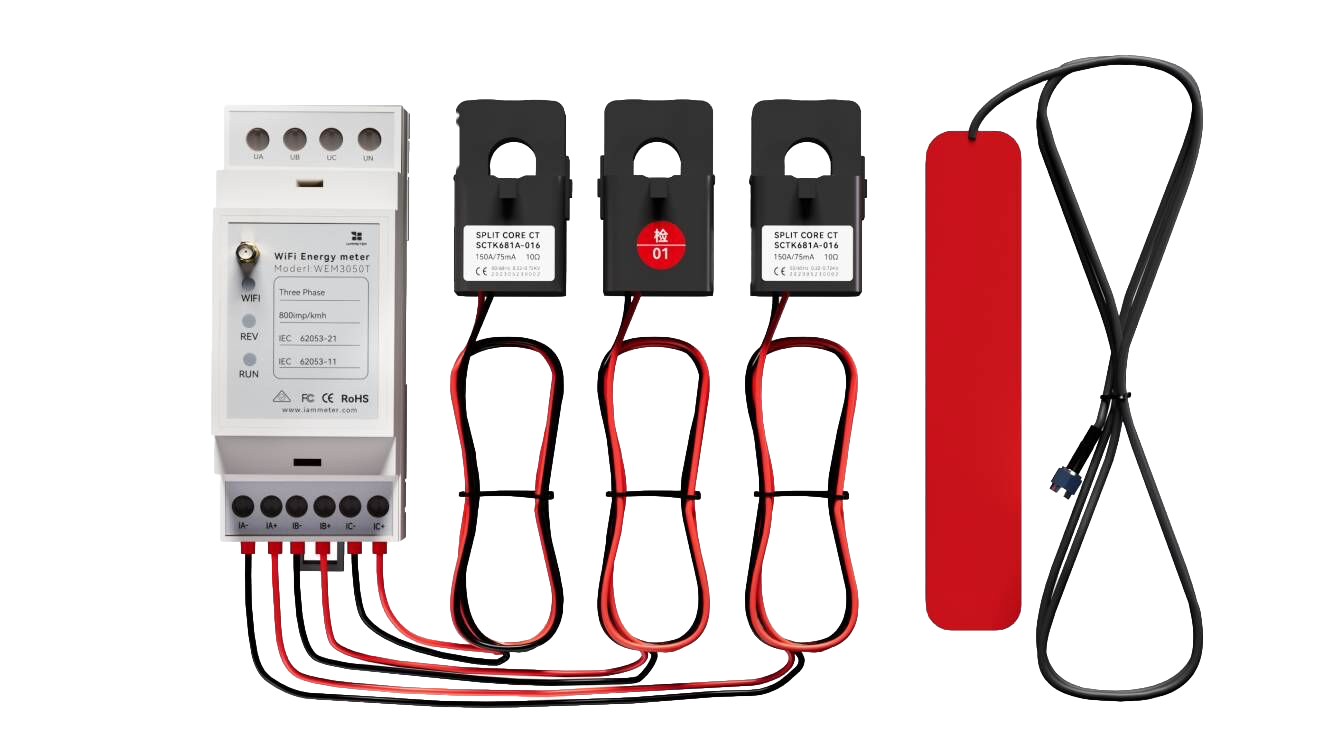
All current IAMMETER energy meters support Modbus TCP. The appropriate model depends on the electrical system and number of measurement channels:
| Model | Typical use |
|---|---|
| WEM3080 | Single-phase circuit or grid monitoring |
| WEM2067 | Two-channel single-phase home or solar monitoring |
| WEM3080T | Three-phase monitoring |
| WEM3050T | Three-phase or split-phase home monitoring |
| WEM3046T / WEM3046TE | External 5 A CT installations |
Why two thresholds are better than one
Do not use the same threshold to turn a relay both on and off. If the reading moves repeatedly above and below that value, the switch may chatter.
Instead, use hysteresis:
- turn on above 1,000 W;
- turn off below 500 W.
Between 500 W and 1,000 W, Home Assistant keeps the existing switch state. This 500 W dead band provides stability.
The thresholds in this example are illustrative. Choose values based on:
- the meaning and sign of the measured power;
- the load's rated power;
- the available solar surplus, if applicable;
- acceptable switching frequency;
- electrical and equipment safety requirements.
Automation 1: Turn the relay on above the upper threshold
The following automation turns the switch on only when the power remains above 1,000 W for 10 seconds:
alias: Power control - turn relay on
description: Turn on the relay after measured power stays above 1000 W
triggers:
  - trigger: numeric_state
    entity_id: sensor.iammeter_active_power
    above: 1000
    for: "00:00:10"
conditions:
  - condition: state
    entity_id: switch.sonoff_s26
    state: "off"
actions:
  - action: switch.turn_on
    target:
      entity_id: switch.sonoff_s26
mode: single
Replace both entity IDs with the entities in your Home Assistant installation.
The 10-second for period filters brief spikes. It should normally be longer than the meter's scan interval so that the decision is based on more than one update.
Automation 2: Turn the relay off below the lower threshold
The second automation uses the lower 500 W threshold:
alias: Power control - turn relay off
description: Turn off the relay after measured power stays below 500 W
triggers:
  - trigger: numeric_state
    entity_id: sensor.iammeter_active_power
    below: 500
    for: "00:00:10"
conditions:
  - condition: state
    entity_id: switch.sonoff_s26
    state: "on"
actions:
  - action: switch.turn_off
    target:
      entity_id: switch.sonoff_s26
mode: single
The two automations now behave as a simple state controller:
| Measured power | Result |
|---|---|
| Above 1,000 W for 10 seconds | Turn the relay on |
| Between 500 W and 1,000 W | Keep its current state |
| Below 500 W for 10 seconds | Turn the relay off |
Automation 3: Turn off safely if meter data is unavailable
A control loop needs a defined failure state. If the meter or network becomes unavailable while the load is on, Home Assistant should not assume that the last reading is still valid.
For a load that should fail off, add this automation:
alias: Power control - fail safe off
description: Turn off the relay if the power sensor becomes unavailable
triggers:
  - trigger: state
    entity_id: sensor.iammeter_active_power
    to: "unavailable"
    for: "00:00:30"
  - trigger: state
    entity_id: sensor.iammeter_active_power
    to: "unknown"
    for: "00:00:30"
conditions:
  - condition: state
    entity_id: switch.sonoff_s26
    state: "on"
actions:
  - action: switch.turn_off
    target:
      entity_id: switch.sonoff_s26
mode: single
Whether “off” is the correct safe state depends on the application. Define the failure behavior before using this pattern with heating, pumps, charging, refrigeration, or other important loads.
Configure the same logic in the Home Assistant UI
If you prefer the automation editor:
- Go to Settings → Automations & scenes.
- Create a new automation.
- Select Numeric state as the trigger.
- Choose the IAMMETER active-power entity.
- Set Above 1000 and a 10-second duration.
- Add the switch's current
offstate as a condition. - Add Switch: Turn on as the action.
- Save and enable the automation.
- Create the corresponding off automation with Below 500.
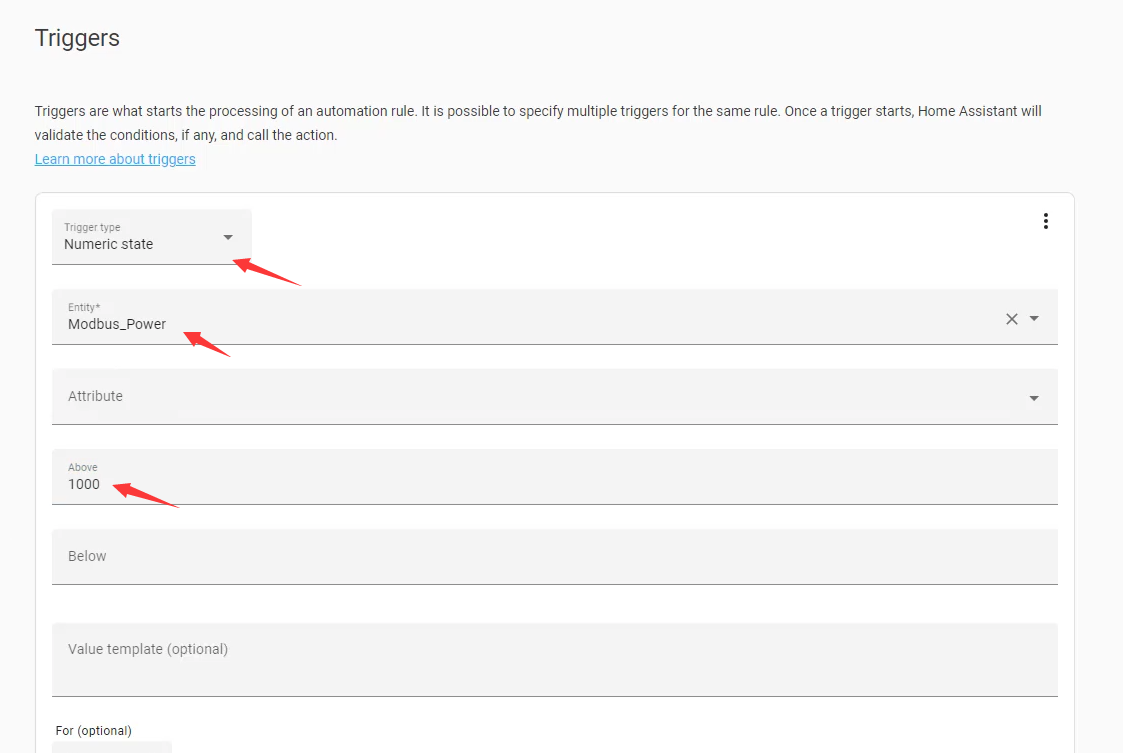
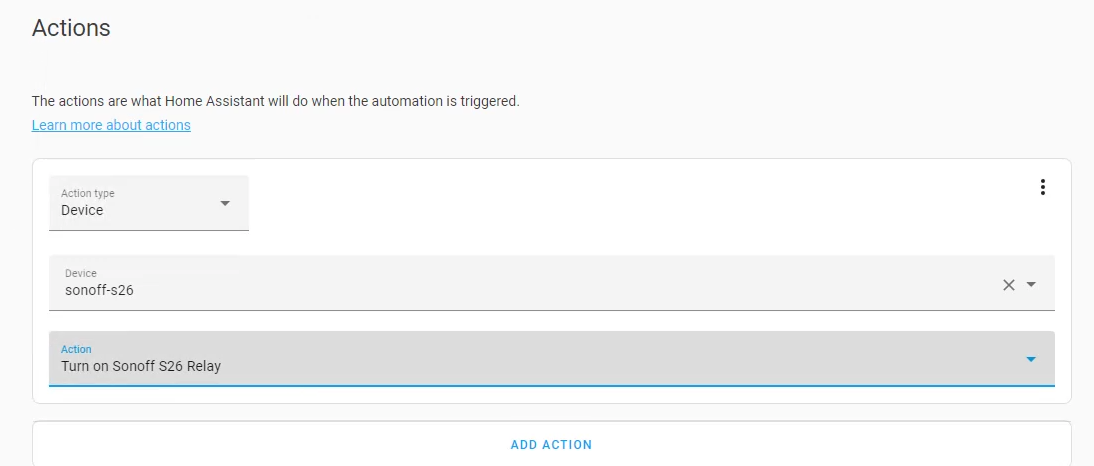
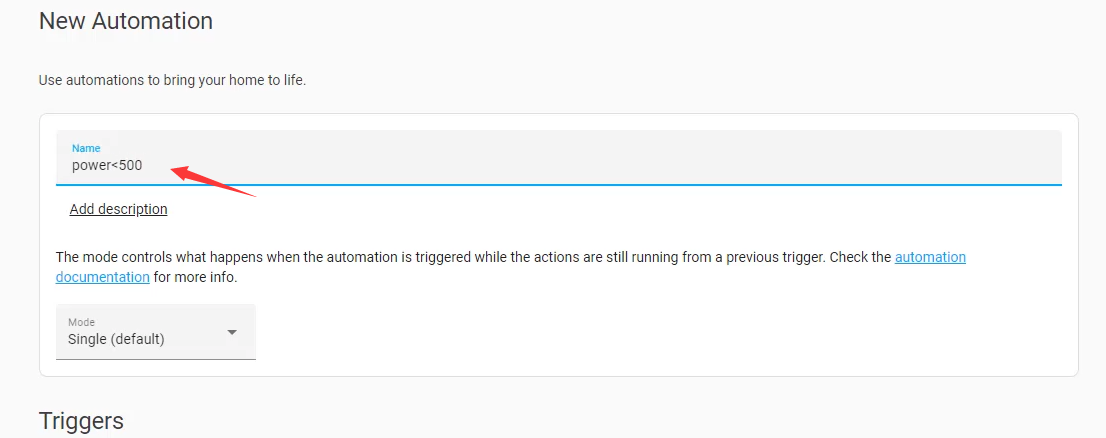
The exact labels can vary by Home Assistant version, but the logic is the same as the YAML examples.
Test the automation safely
Test each part separately before allowing automatic switching:
- Confirm that the power entity changes in Developer tools → States.
- Manually turn the relay on and off from Home Assistant.
- Temporarily use test thresholds that can be reached predictably.
- Confirm the on threshold and delay.
- Confirm the off threshold and delay.
- Disconnect or block the meter temporarily and verify the intended fail-safe behavior.
- Review the automation traces for unexpected triggers.
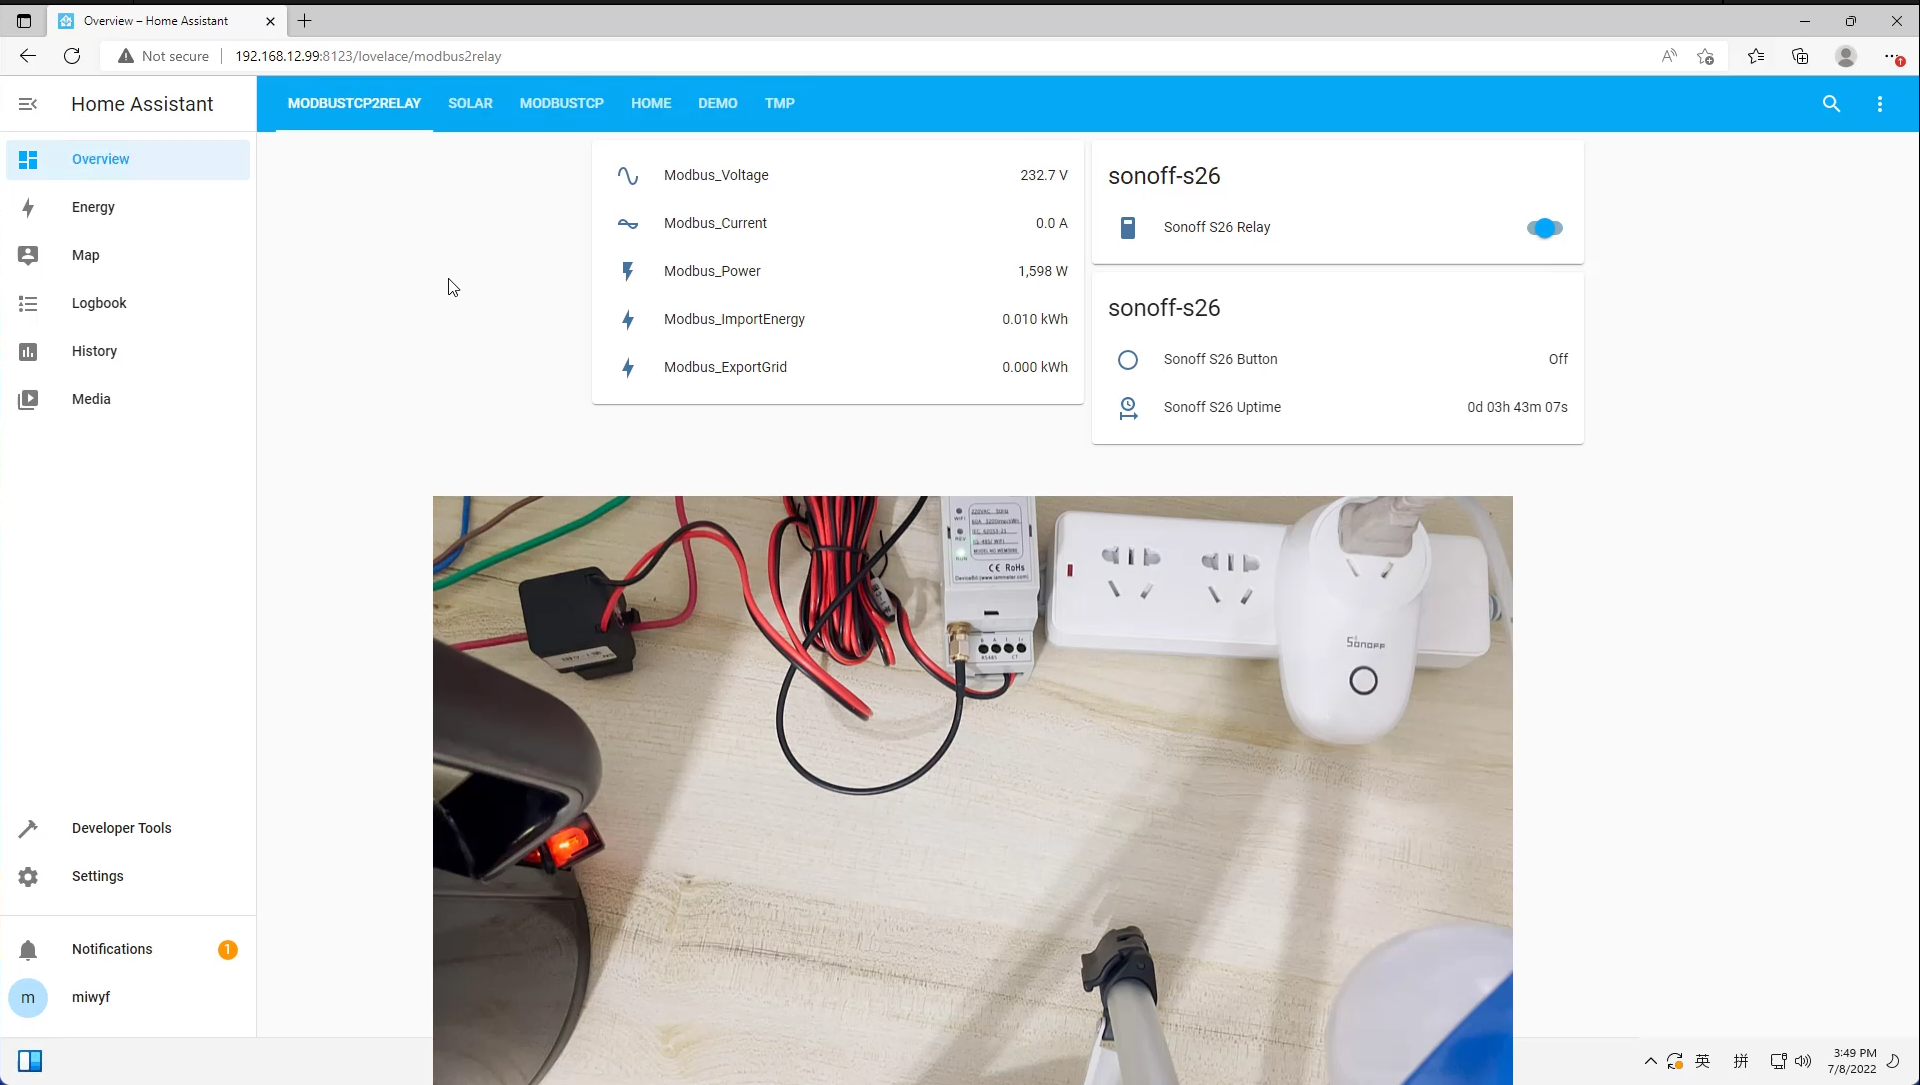
In the original test, switching on the kettle increased the measured power to approximately 1,596 W, above the upper threshold. Turning the kettle off reduced it to approximately 64 W, below the lower threshold. The two thresholds made the resulting relay state easy to observe.
Adapt the example for solar-surplus control
The same pattern can control a flexible load when surplus solar power is available, but first confirm the grid-power sign convention.
For example, one system may report:
- positive power for grid import;
- negative power for grid export.
Another entity or template may represent export as a positive value. The automation thresholds must match the actual entity behavior.
A solar-surplus version usually needs:
- a minimum export threshold before switching on;
- a lower export threshold or grid-import threshold for switching off;
- a longer delay to ignore short cloud-related fluctuations;
- minimum on/off times appropriate for the controlled appliance;
- a fail-safe action when meter data is unavailable.
For proportional water-heating control rather than simple on/off switching, see the IAMMETER solar energy automation solution.
Electrical and operational safety
Home Assistant automation does not change the electrical rating of a smart plug or relay.
- Do not switch a load that exceeds the device's voltage, current, or power rating.
- Consider inrush current for motors, pumps, compressors, and some power supplies.
- Use a correctly rated contactor when the smart relay should control a higher-power circuit indirectly.
- Follow local electrical regulations and use a qualified electrician where required.
- Avoid rapid cycling of heaters, compressors, EV chargers, and other equipment with minimum run-time requirements.
- Keep a manual override and decide what should happen after Home Assistant restarts.
Troubleshooting
The power value updates, but the automation does not run
- Confirm the entity ID in the automation.
- Check whether the value is numeric and measured in watts.
- Remember that a numeric-state trigger fires when the value crosses a threshold and meets the duration; it does not repeatedly fire while already above or below it.
- Inspect the automation trace.
The relay switches too frequently
- Increase the gap between the on and off thresholds.
- Increase the
forduration. - Use a longer Modbus scan interval if second-level reaction is unnecessary.
- Add minimum on/off timing for the appliance.
The relay responds in the wrong direction
- Check whether the entity represents load power, grid import, or grid export.
- Verify the positive/negative power convention.
- Confirm that the correct phase or channel is being used.
The Modbus entity becomes unavailable
- Verify the meter IP address and TCP port
502. - Avoid running several high-frequency Modbus clients against the same meter.
- Follow the Modbus TCP integration troubleshooting guide.
Related Home Assistant guides
- Home Assistant Modbus TCP energy meter setup
- Compare all IAMMETER–Home Assistant integration methods
- IAMMETER Modbus TCP register map
- Home Assistant solar energy monitoring
- Home Assistant MQTT Discovery
Updated: July 19, 2026.