How to Integrate IAMMETER Energy Meters into Home Assistant via Modbus TCP for Real-Time Solar Monitoring
How to Integrate IAMMETER Energy Meter into Home Assistant via Modbus/TCP
This tutorial guides you through integrating IAMMETER’s smart energy meters into Home Assistant using the Modbus TCP protocol. With this setup, you can build a real-time solar PV monitoring system, enabling local control and automation based on energy consumption and solar production.
1. Why Use Modbus/TCP to Integrate Smart Energy Meters
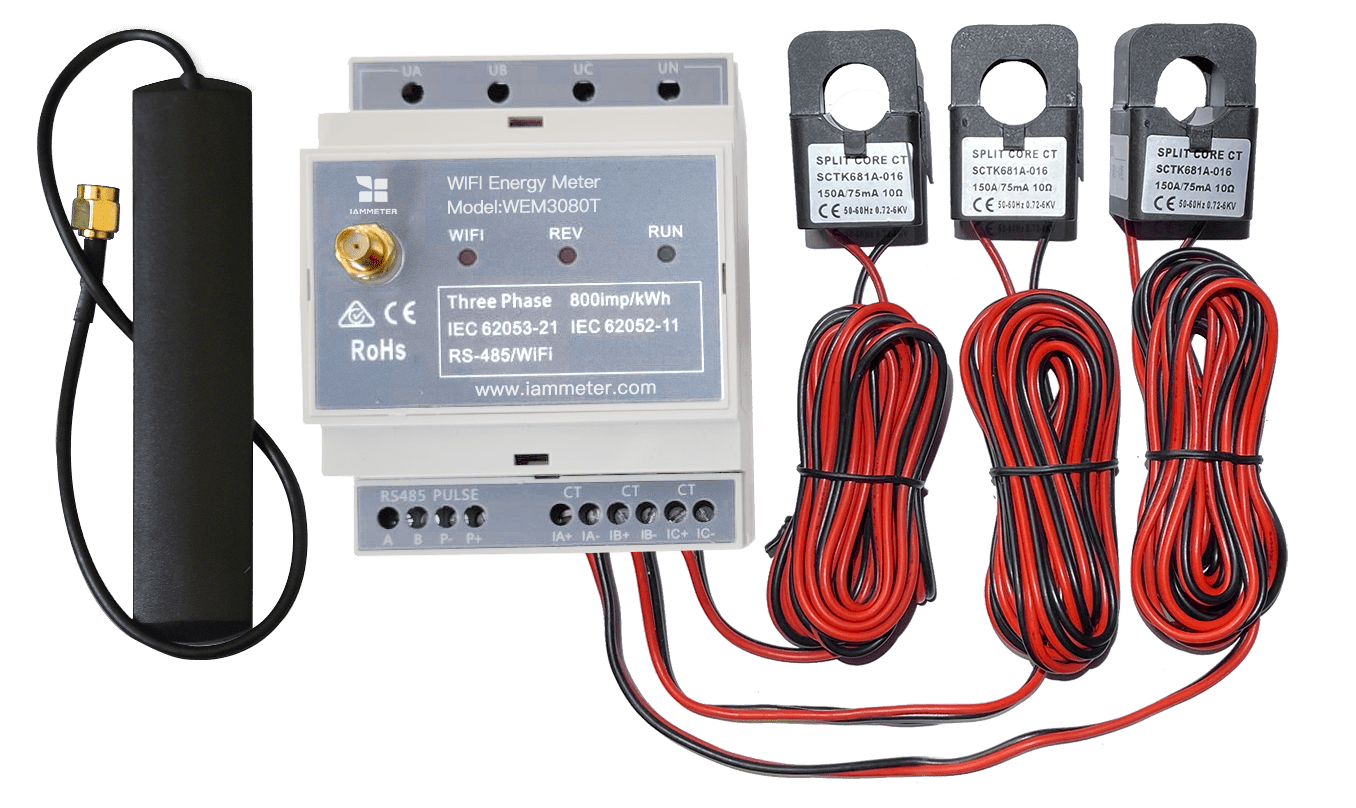
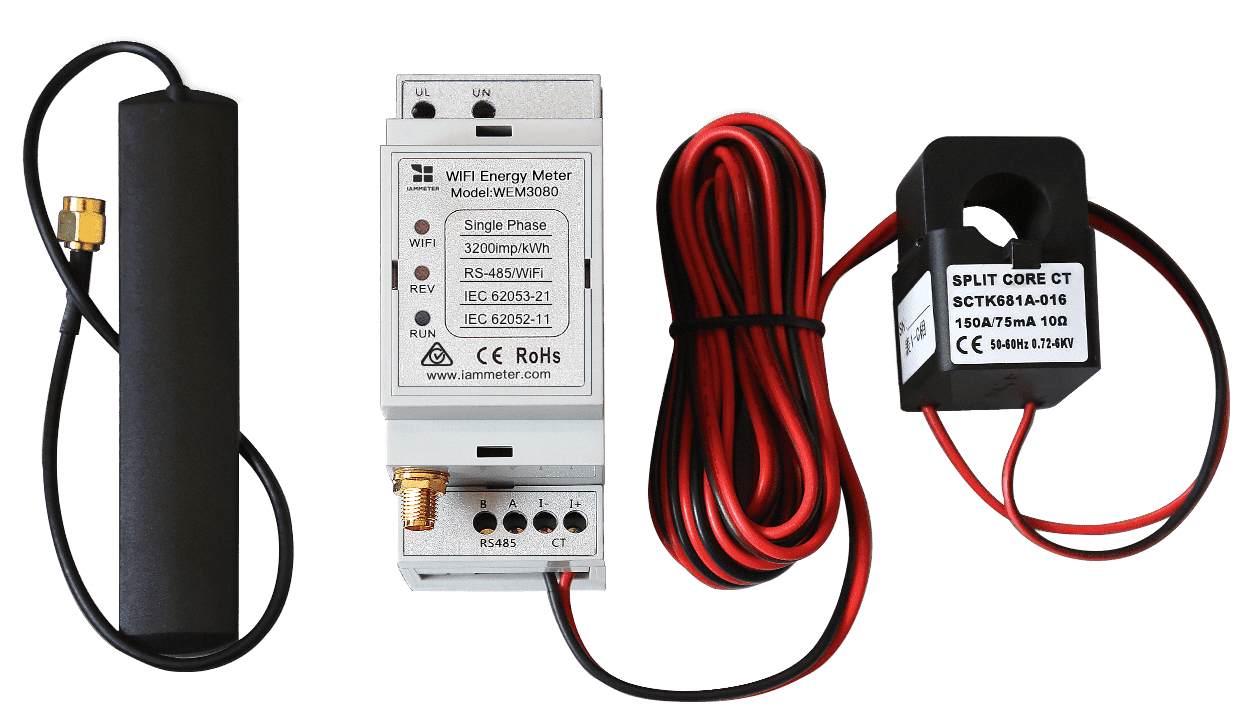
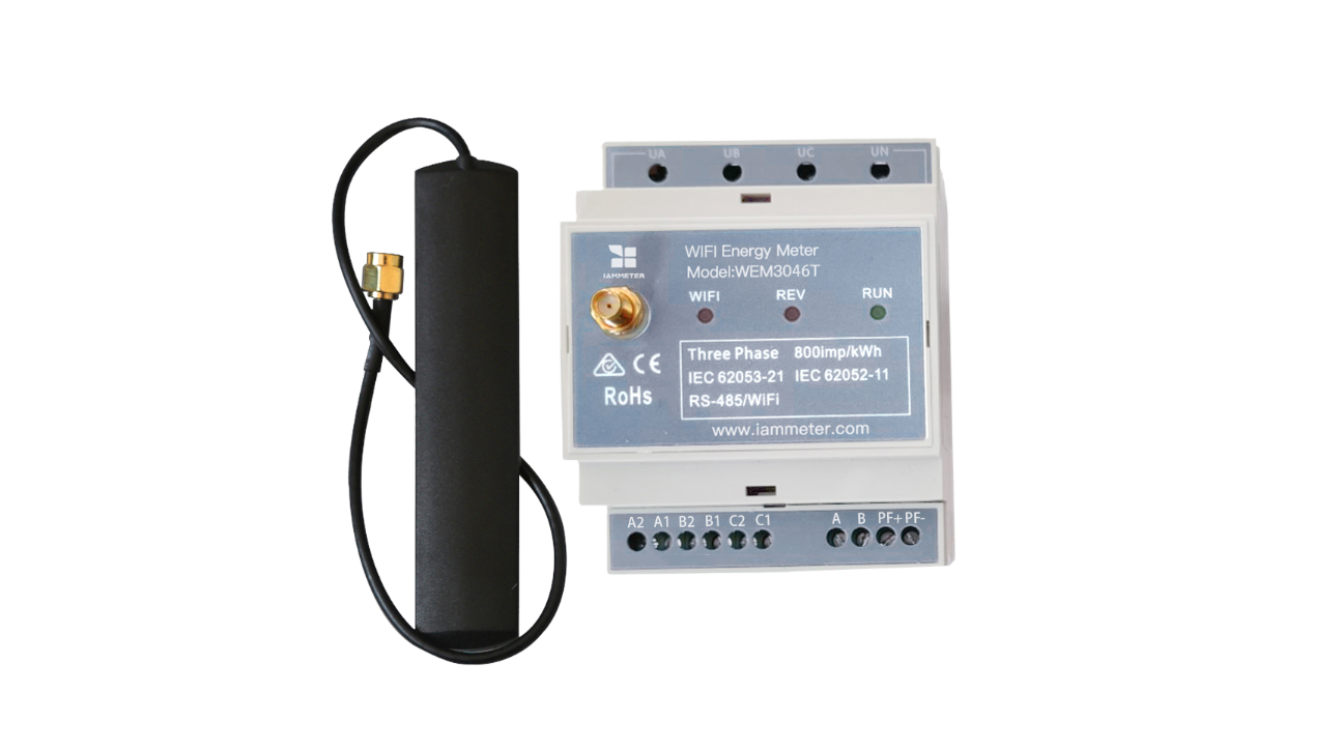
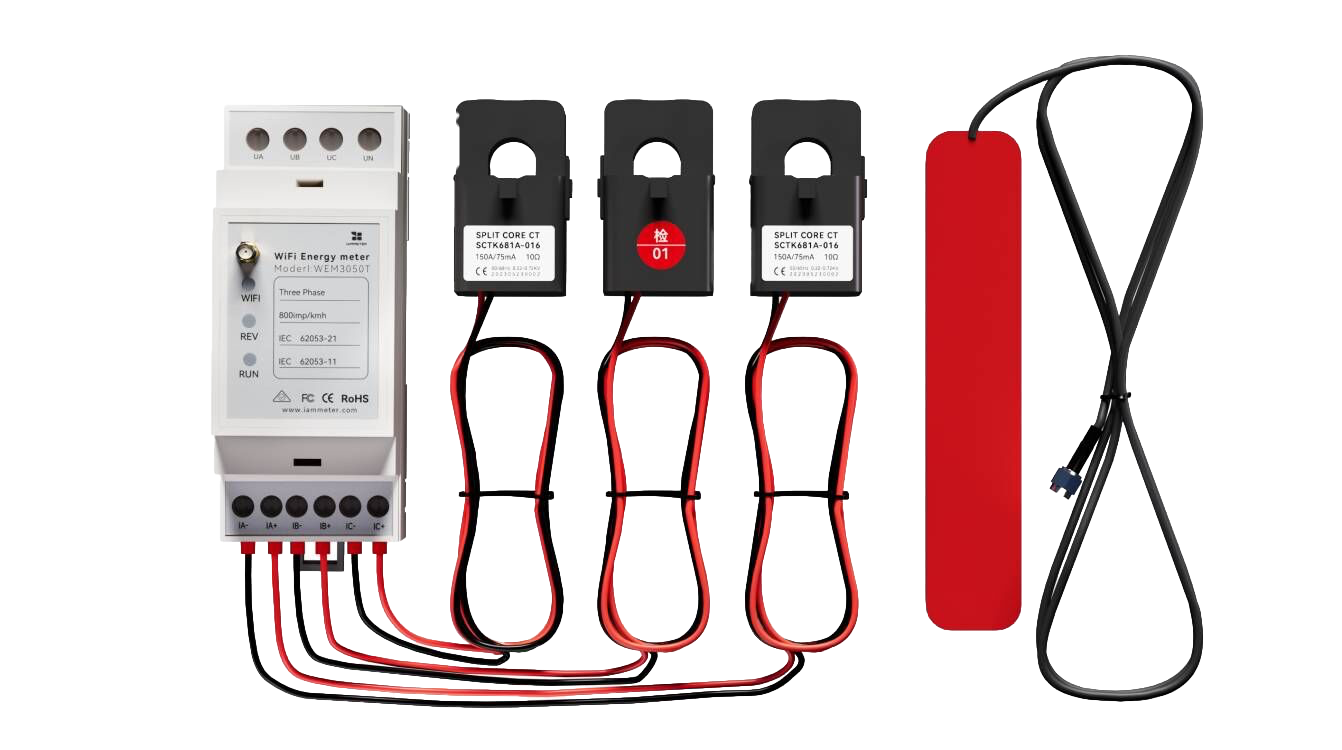
All IAMMETER smart energy meters support Modbus TCP, a widely-used protocol for industrial and home automation.
| Model Type | Supported Products |
|---|---|
| Single Phase | WEM3080 |
| Single Split (Dual/2-Phase) & Three Phase (Wye) | WEM3080T, WEM3046T, WEM3050T |
| Three Phase (Delta) | WEM3080TD |
Key Benefits of Modbus TCP Integration in Home Assistant:
- High Real-Time Performance: Sampling rate up to 1 second (via
scan_interval: 1), ideal for real-time control. - Local Communication: No dependency on the cloud, ensuring privacy and stability.
- Full Parameter Monitoring: Voltage, current, power, import/export energy, and more.
2. Hardware & Software Requirements
Hardware Checklist
- IAMMETER Energy Meter
- A local network (your energy meter and Home Assistant must be on the same LAN)
- Home Assistant-compatible smart devices (e.g., Sonoff relay, temperature sensor)
Software Requirements
- Home Assistant version ≥ 0.107.0
- File Editor or SSH access to modify
configuration.yaml
3. Step-by-Step Configuration Guide
Step 1: Find the IP Address of IAMMETER Meter
Check the IP address of your meter from the IAMMETER app or router interface (e.g., 192.168.1.6).
Step 2: Edit the Home Assistant Configuration
Add the following to your configuration.yaml:
modbus:
  - name: "IAMMETER_Hub"
    type: tcp
    host: 192.168.1.6  # Replace with your meter's IP
    port: 502
    sensors:
      - name: "Modbus_Power"
        slave: 1
        address: 2
        input_type: holding
        unit_of_measurement: "W"
        device_class: power
        data_type: int32
        scan_interval: 1
      - name: "Modbus_Voltage"
        slave: 1
        address: 0
        input_type: holding
        unit_of_measurement: "V"
        device_class: voltage
        data_type: uint16
        scale: 0.01
        precision: 1
Explanation of Key Parameters:
slave: Usually 1address: Modbus register addressscaleandprecision: For converting raw data to readable values
Step 3: Reference Table – Register Map
| Parameter | Single-Phase Address | Three-Phase Address | Data Type |
|---|---|---|---|
| Voltage (V) | 0 | 0 (A), 10 (B), 20 (C) | uint16 |
| Current (A) | 1 | 1, 11, 21 | uint16 |
| Active Power (W) | 2 | 2, 12, 22 | int32 |
| Import Energy (kWh) | 4 | 4, 14, 24 | uint32 |
| Export Energy (kWh) | 6 | 6, 16, 26 | uint32 |
👉 Full Register Map of IAMMETER Meters
Step 4: Restart Home Assistant
After saving the configuration, restart Home Assistant. The new entities (e.g., sensor.modbus_power) will appear under Developer Tools → States.
4. Use Cases & Automation Scenarios
Use Case 1: Relay Control Based on Power Reading
Control Relay Based on Power Consumption
automation:
  - alias: "High Power → Turn On Relay"
    trigger:
      platform: numeric_state
      entity_id: sensor.modbus_power
      above: 1000
    action:
      service: switch.turn_on
      target:
        entity_id: switch.sonoff_s26

  - alias: "Low Power → Turn Off Relay"
    trigger:
      platform: numeric_state
      entity_id: sensor.modbus_power
      below: 500
    action:
      service: switch.turn_off
      target:
        entity_id: switch.sonoff_s26
💡 Example: When a kettle is on (1596W), the relay is turned on; when off (64W), the relay is turned off.
Use Case 2: Solar PV Monitoring in Home Assistant
By monitoring import_energy and export_energy, you can visualize how your solar PV system interacts with the grid.
👉 Tutorial: Monitor Your Solar PV System
5. Troubleshooting & Optimization Tips
- Slow Data Refresh
- Ensure
scan_interval: 1is configured (default may be 15s) - Avoid reading too many registers simultaneously
- Ensure
- No Entities Shown
- Check IP and port (e.g.,
telnet 192.168.1.6 502) - Confirm register addresses match your meter type (single-phase or three-phase)
- Check IP and port (e.g.,
- Compare Other Integration Methods All IAMMETER → Home Assistant Integration Methods
| Integration Type | Real-Time Performance | Complexity | Suitable Scenarios |
|---|---|---|---|
| Modbus TCP | ★★★★☆ (1s, local) | Medium (register setup) | Real-time control, fast local automation |
| MQTT | ★★★☆☆ (1–5s, supports cloud) | Low | Remote sync, cloud dashboards, local optional |
| Core Integration | ★★☆☆☆ (15s, cloud only) | Very Low | Basic energy monitoring |
6. Conclusion
By integrating IAMMETER smart energy meters into Home Assistant via Modbus TCP, you can build a fast, privacy-focused, and locally controlled solar monitoring and automation system. It's especially effective for load shifting, EV charging, and water heating based on solar surplus.
🔧 Accurate register mapping and scan_interval optimization are key to achieving 1-second-level responsiveness.
For advanced users, pairing this integration with InfluxDB and Grafana enables long-term energy analytics and performance tracking.
Real-World Applications of IAMMETER + Home Assistant:
At IAMMETER, our mission goes beyond monitoring—we aim to help solar users reduce electricity bills by maximizing solar self-consumption. Smart monitoring is the first step, but cost-saving is the ultimate goal.


