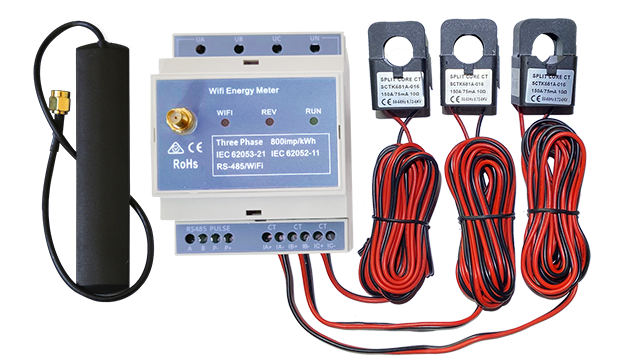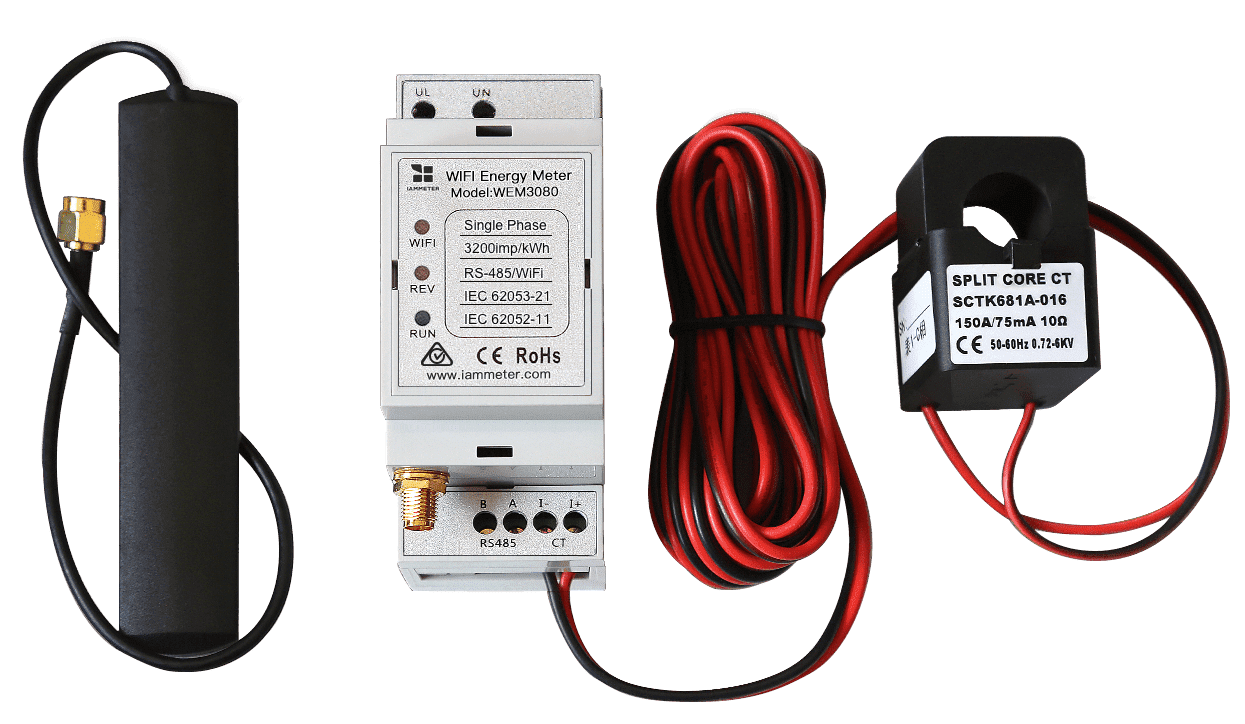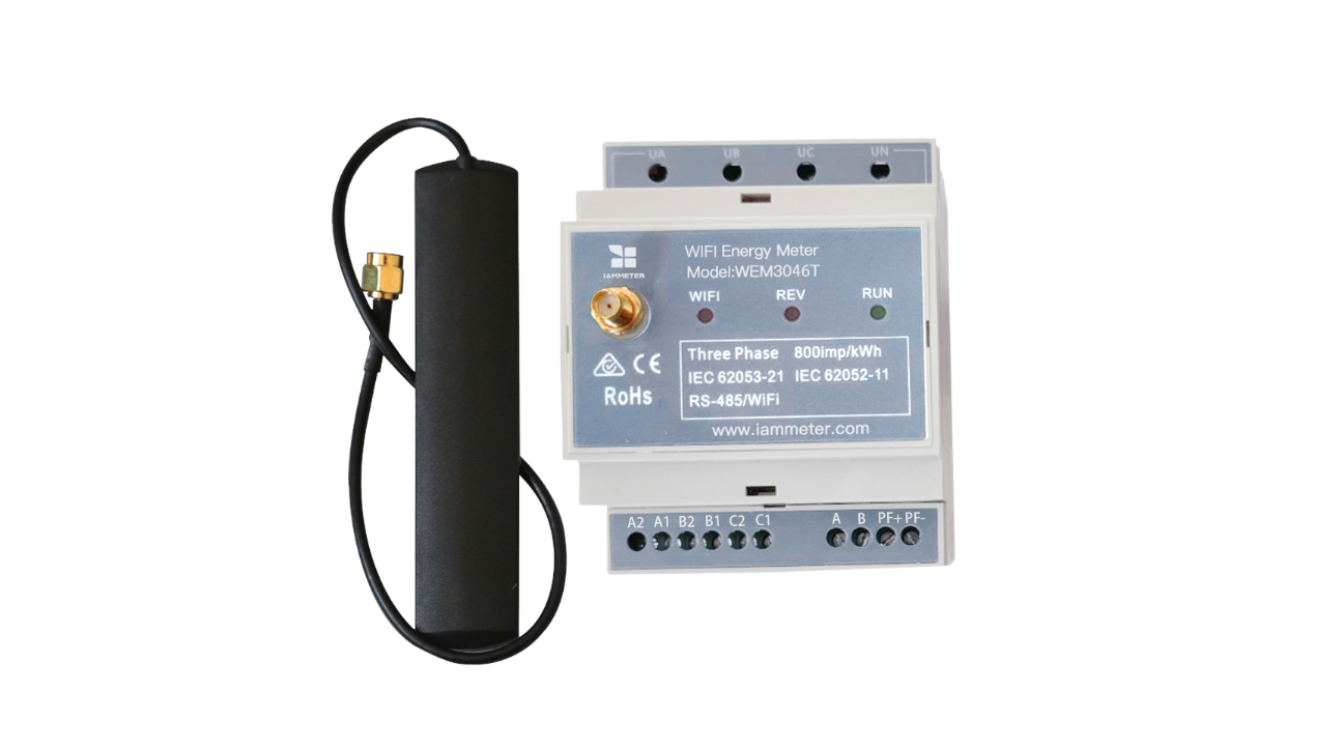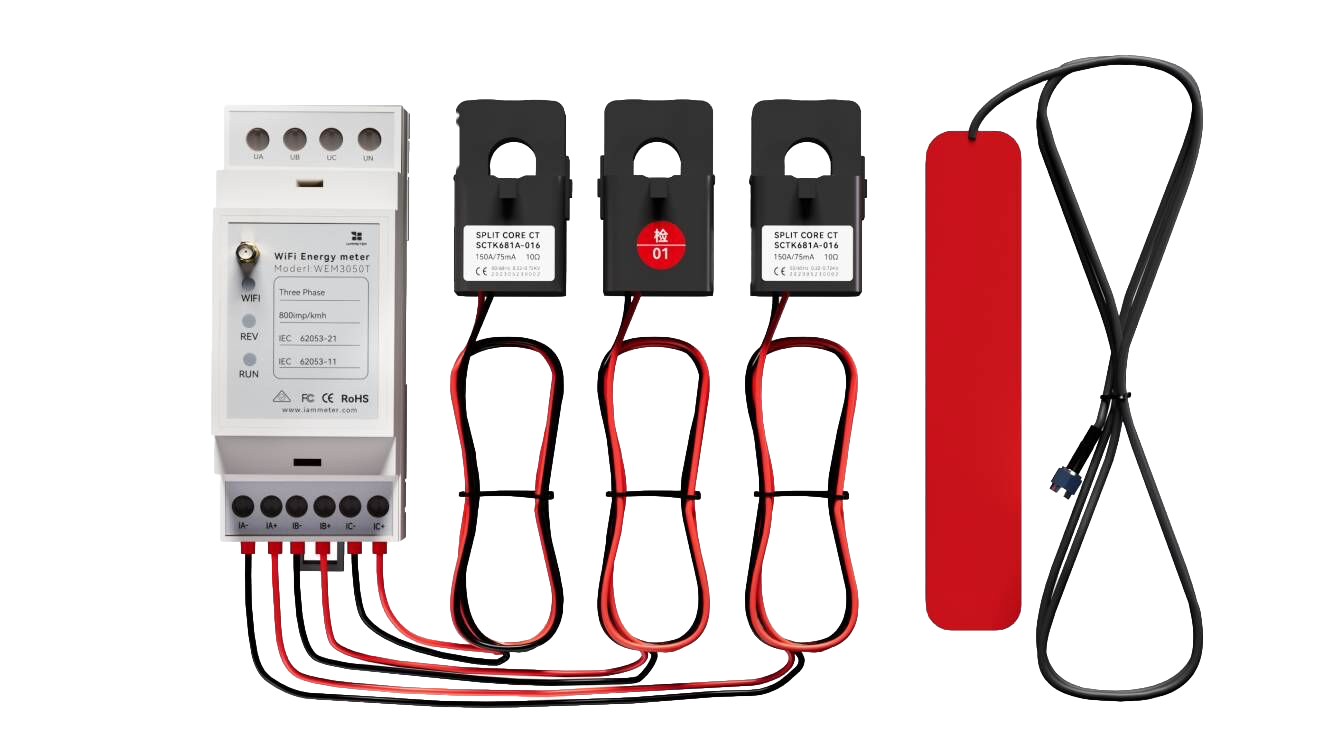



How to Configure MQTTS and HTTPS Certificate Verification on an IAMMETER Energy Meter
IAMMETER energy meters with firmware i.91.065.9 and later can verify the server certificate when they upload data through MQTTS or HTTPS. This adds certificate-chain and server-hostname verification to secure outbound connections.
This article focuses on TLS trust configuration. It does not configure MQTT topics, JSON payloads or Home Assistant discovery. For the MQTT publishing workflow, see MQTT Energy Meter: Publish IAMMETER Data to Your MQTT Broker.
On this page
- Choose a certificate verification mode
- Requirements and important boundaries
- Check the current TLS mode
- Select builtin verification
- Select none for temporary diagnostics
- Upload and select a Custom CA
- Delete the Custom CA
- Use the IAMMETER Swagger UI
- Troubleshoot certificate verification
Choose a certificate verification mode
IAMMETER's MQTTS and HTTPS clients support three server certificate verification modes:
| Mode | Certificate chain | Server hostname | Intended use |
|---|---|---|---|
builtin |
Verified with Root CAs embedded in the firmware | Verified | Recommended for public services using a supported certificate chain |
custom |
Verified with a user-provided PEM Root CA | Verified | Private PKI, self-signed deployments, or public roots not included in the firmware |
none |
Not verified | Not verified | Temporary compatibility or diagnostic use only |
These settings apply when the IAMMETER device acts as a TLS client and uploads data to an MQTTS broker or HTTPS server. They do not enable HTTPS on the device's local Web server.
builtin
builtin is the default mode. It is used when no TLS verification setting has previously been saved and is restored after the TLS CA configuration is deleted or the device is reset to factory defaults.
The firmware contains these Root CAs:
- DigiCert Global Root G2
- ISRG Root X1
The device verifies both the certificate chain and the server hostname. The MQTTS broker or HTTPS server must present a certificate that chains to one of these roots, and its Subject Alternative Name (SAN) must match the configured server address.
If the upload address uses an IP address, the certificate must contain that exact IP address in its SAN. A DNS name does not match an IP address, even when both resolve to the same server.
custom
custom performs the same chain and hostname validation as builtin, but trusts the PEM CA certificate uploaded by the administrator. Use it when:
- the server certificate is issued by a private CA;
- the deployment uses a self-signed server certificate; or
- the required public Root CA is not included in the firmware.
For a private PKI, upload its Root CA certificate. The TLS server should still send required intermediate certificates during the handshake. For a self-signed server certificate, that certificate can be uploaded as the trust anchor, but its SAN must still match the configured hostname or IP address.
none
none still establishes an encrypted TLS connection, but does not verify the certificate chain or hostname. This is similar to legacy TLS behavior without server authentication.
This mode is vulnerable to man-in-the-middle attacks. Use it only temporarily for compatibility or diagnosis. Prefer builtin or custom in production.
Requirements and important boundaries
The TLS CA configuration APIs require Local Admin Security to be enabled. Every request must include the configured administrator username and password with HTTP Basic Authentication.
The computer running curl or the Swagger UI must be able to reach the device's local IP address. The MQTTS and HTTPS clients share one verification mode and one Custom CA, so a change applies to whichever secure upload mode the device uses.
Restart the device after changing the TLS configuration so that the outbound client is recreated with the new settings.
The examples use these placeholders:
DEVICE_IP="192.168.1.80"
ADMIN_USER="admin"
ADMIN_PASSWORD="ExamplePassword1"
Replace them with the actual device address and administrator credentials.
Check the current TLS mode
API:
GET /api/tls/ca/status
Example:
curl --user "$ADMIN_USER:$ADMIN_PASSWORD" \
  "http://$DEVICE_IP/api/tls/ca/status"
Example response:
{
  "successful": 1,
  "mode": "builtin",
  "customCaValid": 0,
  "customCaLength": 0,
  "customCaSha256": "",
  "restartRequiredAfterChange": 1
}
The response reports the selected mode and, when present, the length and SHA-256 digest of the stored Custom CA.
Select builtin verification
API:
POST /api/tls/ca/select
Example:
curl --user "$ADMIN_USER:$ADMIN_PASSWORD" \
  -X POST "http://$DEVICE_IP/api/tls/ca/select" \
  -H "Content-Type: application/json" \
  -d '{"mode":"builtin"}'
Restart the device after a successful response.
Select none for temporary diagnostics
API:
POST /api/tls/ca/select
Example:
curl --user "$ADMIN_USER:$ADMIN_PASSWORD" \
  -X POST "http://$DEVICE_IP/api/tls/ca/select" \
  -H "Content-Type: application/json" \
  -d '{"mode":"none"}'
The response includes a warning that server certificate verification is disabled. Restart the device after changing the mode, and switch back to builtin or custom after diagnosis.
Upload and select a Custom CA
Uploading a CA and selecting custom are separate operations. Uploading a CA does not automatically change the active mode.
Custom CA file requirements
The uploaded file must meet all of these requirements:
- PEM certificate format;
- raw request body, not JSON and not
multipart/form-data; Content-Type: application/x-pem-file;- length from 1 through 3072 bytes, including PEM headers, line endings and whitespace;
- contains
-----BEGIN CERTIFICATE-----and-----END CERTIFICATE-----; - does not contain a private key.
The 3072-byte limit applies to the complete HTTP request body. A 3072-byte PEM file is accepted; a 3073-byte file is rejected.
Check the file size before uploading:
wc -c root-ca.pem
Step 1: Upload the CA
API:
POST /api/tls/ca/upload
Example:
curl --user "$ADMIN_USER:$ADMIN_PASSWORD" \
  -X POST "http://$DEVICE_IP/api/tls/ca/upload" \
  -H "Content-Type: application/x-pem-file" \
  --data-binary @root-ca.pem
Example successful response:
{
  "successful": 1,
  "length": 1939,
  "sha256": "64-character SHA-256 digest",
  "message": "CA uploaded; select custom mode and restart"
}
The device stores the CA in multiple KV blocks and verifies the saved length and SHA-256 digest before marking it active. An interrupted write does not replace the previous valid CA.
Step 2: Select custom
curl --user "$ADMIN_USER:$ADMIN_PASSWORD" \
  -X POST "http://$DEVICE_IP/api/tls/ca/select" \
  -H "Content-Type: application/json" \
  -d '{"mode":"custom"}'
The device rejects this request when no valid Custom CA is stored. It does not silently fall back to none.
Step 3: Restart and verify
Restart the device from its local Web UI, or use the protected restart API:
curl --user "$ADMIN_USER:$ADMIN_PASSWORD" \
  "http://$DEVICE_IP/api/restart?reset=false"
After the device reconnects, query the status again:
curl --user "$ADMIN_USER:$ADMIN_PASSWORD" \
  "http://$DEVICE_IP/api/tls/ca/status"
Confirm that mode is custom, customCaValid is 1, and the reported length and SHA-256 digest match the uploaded certificate.
Delete the Custom CA
API:
POST /api/tls/ca/delete
Example:
curl --user "$ADMIN_USER:$ADMIN_PASSWORD" \
  -X POST "http://$DEVICE_IP/api/tls/ca/delete"
Deleting the Custom CA also restores the mode to builtin. Restart the device after deletion.
Use the IAMMETER Swagger UI
The same APIs can be tested without manually writing curl commands:
IAMMETER WEM API Test - TLS CA
- Open the WEM API Test page on a computer that can reach the device's local IP address.
- Enter the device address, such as
192.168.1.80, and select Apply. - Select Authorize and enter the administrator username and password.
- Open the TLS CA - Authenticated group.
- Use
GET /api/tls/ca/statusto inspect the current configuration. - Use the upload, select or delete operation as required.
- Restart the device after changing the mode or certificate.
The Swagger page runs in the browser and sends requests directly from that computer to the IAMMETER device. It does not proxy requests through IAMMETER Cloud, so the browser must have direct network connectivity to the device IP.
Troubleshoot certificate verification
admin security required
Enable Local Admin Security before using the TLS CA APIs. These settings cannot be changed anonymously.
custom CA is missing or invalid
Upload a valid PEM CA successfully before selecting custom. Query /api/tls/ca/status and confirm that customCaValid is 1.
TLS connection fails in builtin or custom
Check all of the following:
- the configured hostname or IP matches the certificate SAN;
- the certificate is currently valid and the device time is correct;
- the server sends the required intermediate certificates;
- the selected Root CA issued, or ultimately trusts, the server certificate;
- the device was restarted after the TLS configuration changed.
TLS works in none but fails in verified modes
This normally indicates a certificate-chain, hostname, validity-time or device-clock problem. Keeping none enabled hides the authentication failure but does not solve it. Correct the certificate deployment or upload the appropriate Root CA and use custom.